

It’s 6:47 PM on a Tuesday. You’re standing in front of an open fridge holding half a lime, three condiments, and a wilting bag of spinach you swear you bought yesterday. Sound familiar?
I’ve stood in that exact spot more times than I’d like to admit. Then I worked out a meal prep system that takes about two hours on a Sunday and saves me roughly six hours (and $70) across the week. No 47 identical Tupperware containers of sad chicken and broccoli. No “clean eating” cosplay. Just food I want to eat.
This guide gives you the full blueprint: the shopping, the cooking order, the storage rules, the food safety stuff most blogs skip, and the mistakes that made me want to throw a rice cooker out a window.
Why most beginners quit meal prep in week two
Here’s the uncomfortable truth: people don’t quit meal prepping because it’s hard. They quit because they do it WRONG on the first attempt and then blame themselves.
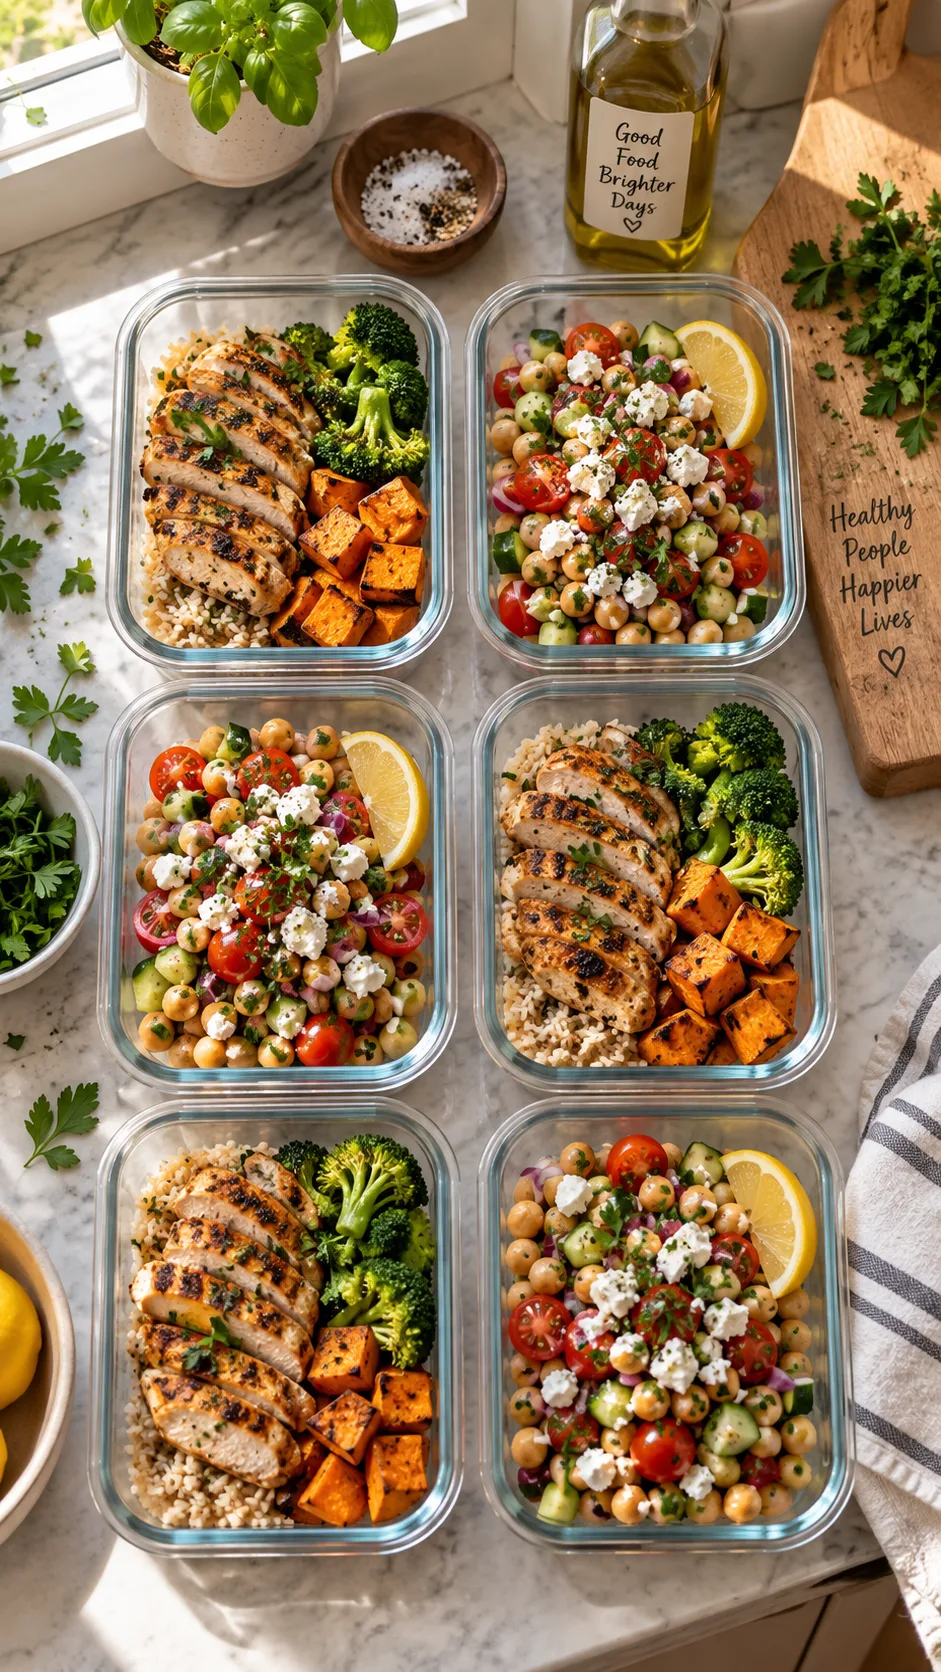
The classic rookie move? You watch a video, get inspired, buy 30 containers, and cook seven identical lunches plus seven identical dinners for the entire week. By Wednesday you hate quinoa. By Thursday you’re ordering Thai food and feeling like a failure. I know, because I did exactly that in 2019.
The three real reasons meal prep fails
- Flavor fatigue. Your brain needs variety. Eating the same meal ten times in a row breaks even the most disciplined person.
- Overcommitting on day one. Prepping 14 meals as a beginner is like running a marathon the week after you buy running shoes.
- Bad storage. Soggy food kills motivation faster than anything. Nobody wants a salad that’s been marinating in its own dressing since Sunday.
Fix those three things and meal prep stops being a chore. It becomes the thing that makes your entire week easier. Ever wondered why the people who prep consistently seem weirdly calm about weeknights? That’s why.
The core philosophy: prep components instead of complete meals
This one shift changed everything for me, so I’m putting it near the top where you’ll read it.
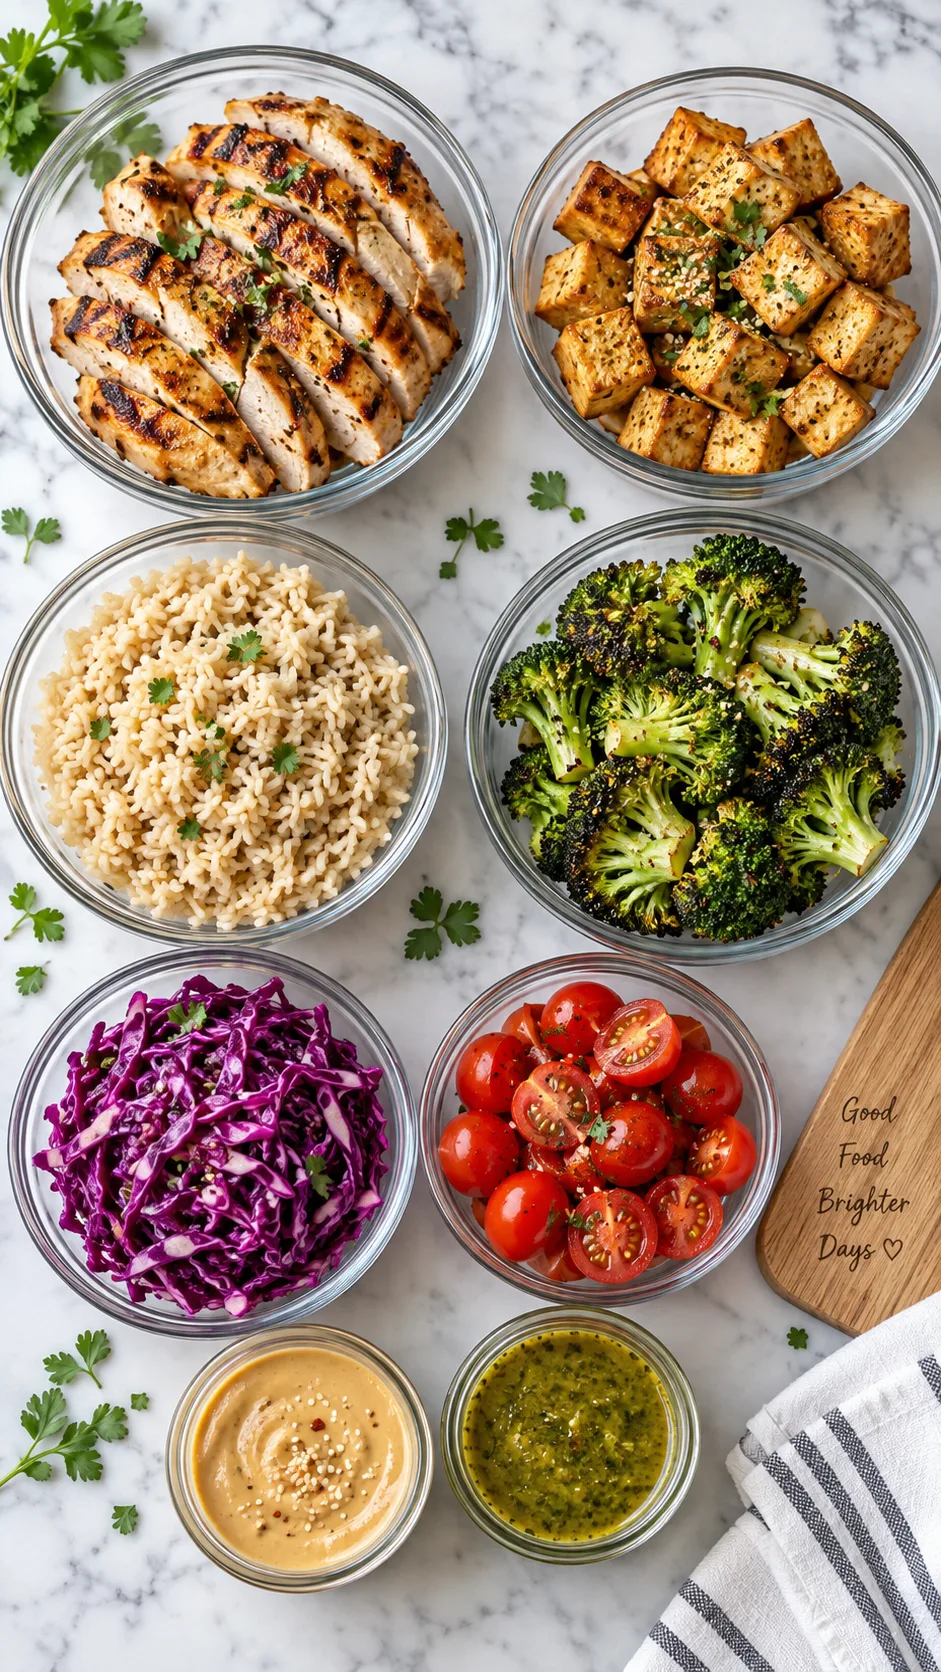
Instead of cooking finished meals, cook components: a protein, a grain, a roasted vegetable, a raw vegetable, and a sauce. Then you mix and match all week. Same ingredients, wildly different meals. Ten minutes of assembly, zero boredom.
Chicken + rice + broccoli + peanut sauce gives you a rice bowl. The same chicken + tortilla + raw cabbage slaw + lime yogurt gives you tacos. That same chicken, chopped over greens with feta, is a lunch salad. See how that works?
The 5-component framework
- 2 proteins: one “neutral” (grilled chicken, baked tofu, hard-boiled eggs) and one “flavored” (taco beef, curried chickpeas, lemon-herb salmon)
- 2 carbs: rice, quinoa, roasted potatoes, pasta, or tortillas
- 2 cooked vegetables: roasted broccoli, sweet potato, peppers, zucchini
- 1 or 2 raw vegetables: shredded cabbage, cherry tomatoes, cucumber, washed greens
- 2 sauces: your secret weapon, and I’ll die on this hill
Sauces do the heavy lifting. A jar of tahini-lemon dressing and a jar of chili-garlic-soy turn identical ingredients into two completely different cuisines. Each one costs you about 90 seconds. Best return on effort in the entire kitchen.
Your first meal prep session: the step-by-step blueprint
Block out two hours. Put on a podcast or a playlist with questionable taste. Here’s the exact order I use, and the order matters more than you’d think.
Step 1: Pick your meals before you shop (10 minutes)
Choose three meal “templates” for the week, not seven. Grain bowls, tacos, and big salads, for example. Three templates give you enough variety without a mountain of prep.
Write down the components each template needs. You’ll spot the overlap immediately, and that overlap is exactly where your time savings live.
Step 2: Shop with a list organised by store section (30 minutes)
Group your list by produce, meat, dry goods, dairy. You’ll cut your shopping time roughly in half and skip the “wander back to aisle 4 for the third time” special.
Buy less than you think. Beginners consistently overbuy produce, then throw out half of it. The USDA puts food waste in the US at 30 to 40% of the food supply, and a big chunk of that happens in home fridges exactly like yours. (Details over at the USDA’s food loss and waste hub.)
Step 3: Start the oven and the longest-cooking item first (5 minutes)
Preheat to 425°F (220°C). Get your sweet potatoes, squash, or chicken thighs in there IMMEDIATELY. Everything else happens while the oven does its job.
This is the biggest time hack in meal prep: run the oven, the stovetop, and your hands in parallel. Dead oven time is wasted time.
Step 4: Grains on the stove, hands on the cutting board (40 minutes)
Rice or quinoa goes on the back burner. While it simmers and the oven roasts, you chop raw vegetables, whisk sauces, and wash greens. Three things cooking, zero standing around.
A tip from painful experience: chop the raw stuff last if your knife and board touched raw meat. Or use two boards. Cross contamination is not a cute lesson to learn.
Step 5: Cool, portion, label (20 minutes)
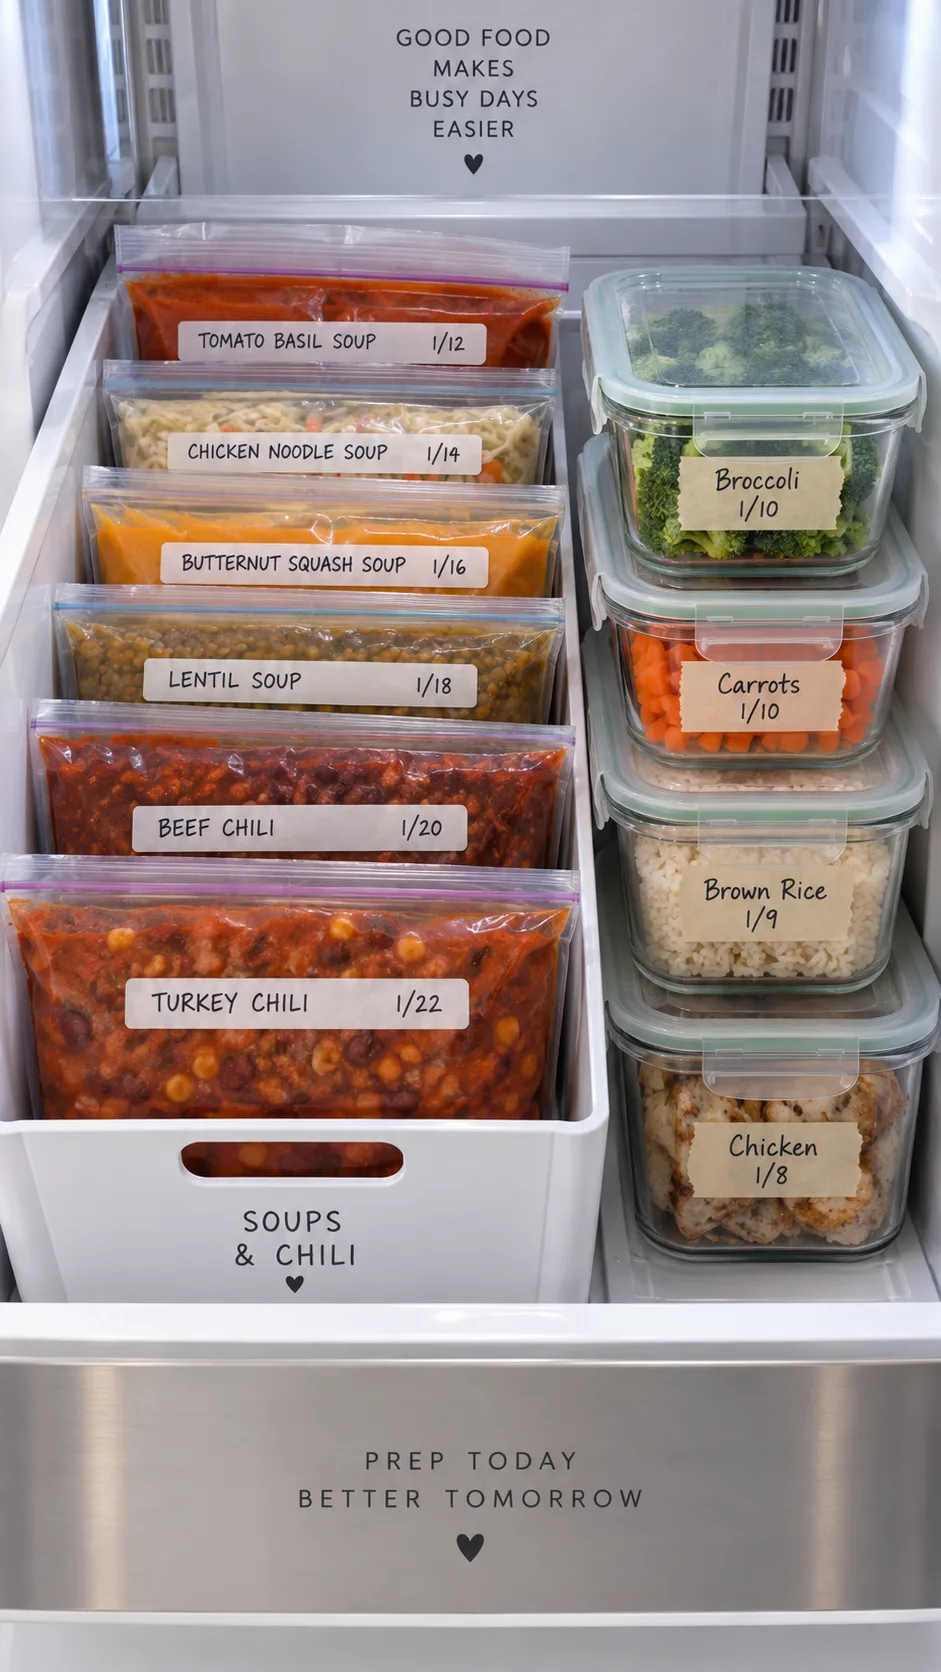
Let hot food cool before you put the lid on, because trapped steam turns good food into a soggy tragedy. Portion into containers, then label everything with the date. Yes, really. Masking tape and a Sharpie cost nothing and end all “is this still fine?” debates.
Food safety: the boring section that keeps you out of the bathroom
Nobody wants to read this part. Read it anyway. It takes 90 seconds and it protects the entire system.
The USDA’s FoodSafety.gov guidelines lay out the numbers that matter:
- Cook poultry to 165°F (74°C). Ground meat hits 160°F. Whole cuts of beef and pork hit 145°F with a 3-minute rest.
- The danger zone sits between 40°F and 140°F. Bacteria multiply fast in that range.
- Refrigerate cooked food within 2 hours, or within 1 hour if your kitchen is above 90°F.
- Most cooked leftovers last 3 to 4 days in the fridge. Not seven. Three to four.
- Keep your fridge at or below 40°F (4°C). Buy a $6 fridge thermometer, because the built-in dial lies constantly.
That 3 to 4 day rule is why I prep Sunday and Wednesday instead of cramming a full week into one session. Sunday covers Monday through Wednesday. A 30-minute Wednesday top-up covers Thursday and Friday. The freezer handles the rest.
What freezes brilliantly (and what absolutely doesn’t)
- Freezes great: soups, stews, chilli, curries, cooked grains, meatballs, shredded chicken, burritos, pancakes, cooked beans
- Freezes badly: raw leafy greens, cucumber, cream sauces, boiled potatoes, mayo-based salads, anything crispy
Freeze in flat, thin portions in zip bags. They stack like books, they thaw in a fraction of the time, and they stop your freezer from turning into an archaeological dig site.
Gear: what you need vs. what Instagram sells you
You do NOT need a vacuum sealer, a sous vide circulator, or a $300 set of matching containers with bamboo lids. IMO that stuff is procrastination disguised as preparation.
The genuinely essential list
- Two large sheet pans. Roasting gives you the most food per unit of effort, and two pans double your output.
- 8 to 12 containers with real seals. Glass for reheating, plastic for carrying. Get ONE size so they stack.
- A sharp chef’s knife. A dull knife makes prep miserable and it’s genuinely more dangerous.
- A big cutting board (plus a small one for raw meat).
- Small jars for sauces. Old jam jars work perfectly. Shake, don’t whisk.
- An instant-read thermometer. $12, and you never have to guess whether the chicken is done.
That’s it. Total damage: under $80 if you shop sensibly, and you probably already own most of it.
Building meals that keep you full (the nutrition part)
A meal prep container that leaves you hungry at 3 PM isn’t doing its job. It’s a vending machine ad in disguise.
The Harvard Healthy Eating Plate gives you the simplest visual rule around: fill half your plate with vegetables and fruit, a quarter with whole grains, and a quarter with protein. Add a healthy fat. Done.
The satiety formula I use for every container
- Protein: 25 to 35g per meal. That’s roughly a palm-sized piece of chicken, a cup of lentils, or two eggs plus cheese.
- Fiber: 8g or more per meal. Beans, whole grains, and vegetables handle this for you.
- Fat: a real amount. Olive oil, avocado, nuts, tahini. Fat-free meals send you raiding the snack drawer by mid-afternoon.
- Something crunchy or acidic. Pickled onions, lemon juice, toasted seeds. It’s a texture trick rather than a nutrition one, but it keeps you eating the food you prepped.
Fiber deserves special mention. Most adults fall well short of the recommended intake, and it’s one of the easiest wins in a prepped meal. Beans cost about $1 a can and take zero cooking. Shameless plug for the humble chickpea.
Five beginner meal prep templates that never get old
Pick two or three. Rotate them. You’ll cover months of eating without repeating yourself.
- The grain bowl: grain + protein + roasted veg + raw veg + sauce. Infinitely variable. The workhorse of my kitchen.
- The sheet pan dinner: protein and vegetables roasted together on one pan. One pan to wash. Life-changing on a Tuesday.
- The big pot: chilli, curry, soup, or stew. Cook once, eat four times, freeze two. It tastes BETTER on day three.
- The assembly meal: tacos, wraps, or pita sandwiches. You prep fillings only, then you assemble in three minutes.
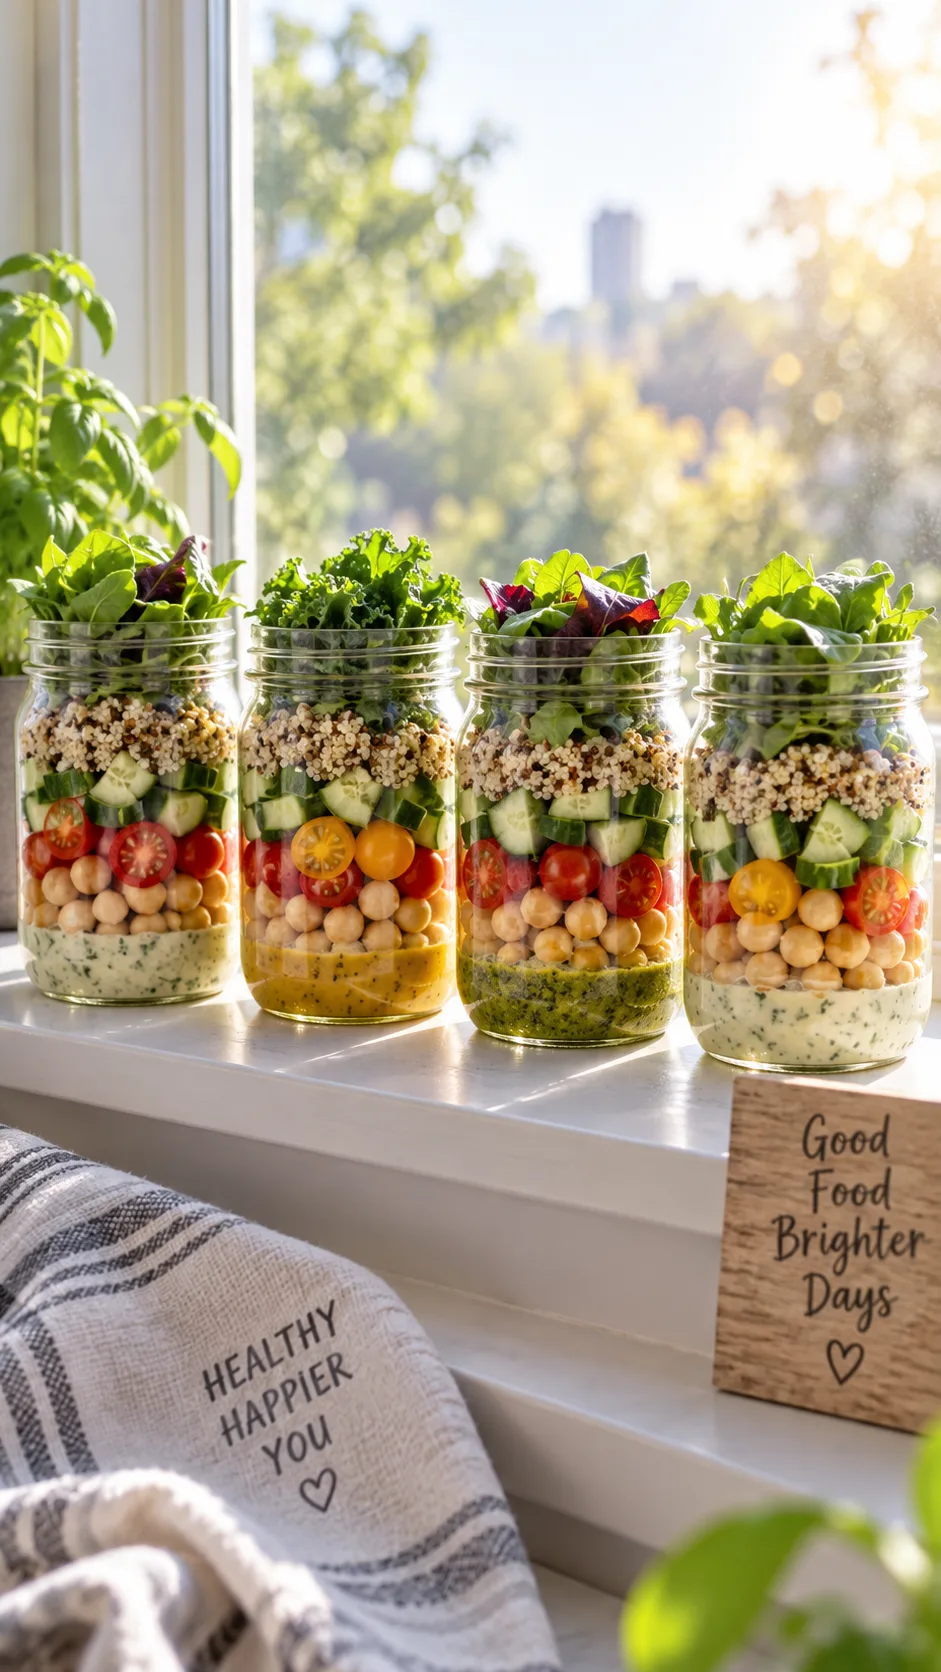
- The jar salad: dressing at the bottom, hard vegetables next, grains and protein in the middle, greens on top. Shake it into a bowl. It stays crisp for four days. I was skeptical too, then I tried it.
Breakfast: the meal everyone forgets to prep
You prep lunch and dinner, then buy a $6 coffee-shop pastry five mornings a week. That’s $1,500 a year. Ouch.
Overnight oats take four minutes for five jars: oats, milk, yogurt, chia, fruit. Egg muffins bake in 20 minutes and keep four days. Freezer smoothie packs (fruit and greens portioned into bags) turn a blender into a 60-second breakfast.
Prep breakfast first in your session. It’s the fastest win and it builds momentum for everything else.
The mistakes I made so you don’t have to
1. Cooking food I didn’t like
I once prepped five containers of plain steamed cod because a fitness article told me to. I ate one. Prep food you’d happily order at a restaurant, or you’ll waste money and hate the process.
2. Ignoring the sauce
I covered this above, but it’s worth repeating. Sauce is the difference between “meal prep” and “punishment.”
3. Sealing hot food
Steam condenses, food gets soggy, and warm food in a sealed container cools slowly, which drags it through the bacterial danger zone. Cool it first, uncovered, on the counter for 20 to 30 minutes max.
4. Dressing salads in advance
Sauce goes in a separate small container or at the bottom of a jar. Always. No exceptions. FYI, this one rule saved my lunch salads.
5. Prepping seven days at once
Food quality drops, safety windows close, and you get bored. Two shorter sessions beat one heroic marathon every time. If you want the full walkthrough again later, bookmark this weekly meal prep blueprint and run it as a checklist.
Your first week: a realistic Sunday timeline
- 0:00 Preheat the oven. Sheet pan of sweet potatoes and chicken thighs goes in.
- 0:10 Rice on the stove. Beans rinsed and drained.
- 0:20 Chop raw vegetables. Wash and dry greens.
- 0:35 Shake together two sauces in jars.
- 0:45 Second sheet pan (broccoli, peppers) into the oven.
- 1:05 Everything comes out. Cool it on the counter.
- 1:30 Portion, label, refrigerate.
- 1:45 Wash up, admire the fridge, feel smug. Well earned.
Under two hours, and you’ve got six to eight meals ready. Your Wednesday-evening self will genuinely thank you.
The bottom line
Meal prep works when you keep it boring-simple: prep components instead of finished meals, make sauces, respect the 3 to 4 day fridge rule, and split your cooking across two shorter sessions. That’s the whole system. Everything else is decoration.
Start absurdly small this week. One protein, one grain, one vegetable, one sauce. Four things. If that goes well, add a second protein next week and build from there.
Aim for a fridge that feeds you rather than one that photographs well. The win is opening that fridge at 6:47 PM on a Tuesday and finding real food waiting for you.
Go pick three meals, write your list, and claim two hours on Sunday. Future you is already grateful.