

It is 8:15 on a Tuesday evening. You just finished a ten-hour workday, your stomach is growling, and your refrigerator holds nothing ready to eat except a raw, frozen chuck roast. You face two bad options: spend the next hour searing meat and scrubbing grease off your counters, or surrender and order expensive takeout.
I fell into that cycle for months after I switched to an all-meat diet. Cooking ribeyes to order sounds great until you find yourself scraping burnt tallow off a skillet fourteen times a week. The novelty fades fast.
Batch cooking solves this problem completely. When you dedicate ninety minutes every Sunday to bulk prep, you fill your fridge with mountains of rich animal protein. You save money, wipe out mid-week cooking stress, and keep your nutrition on track.
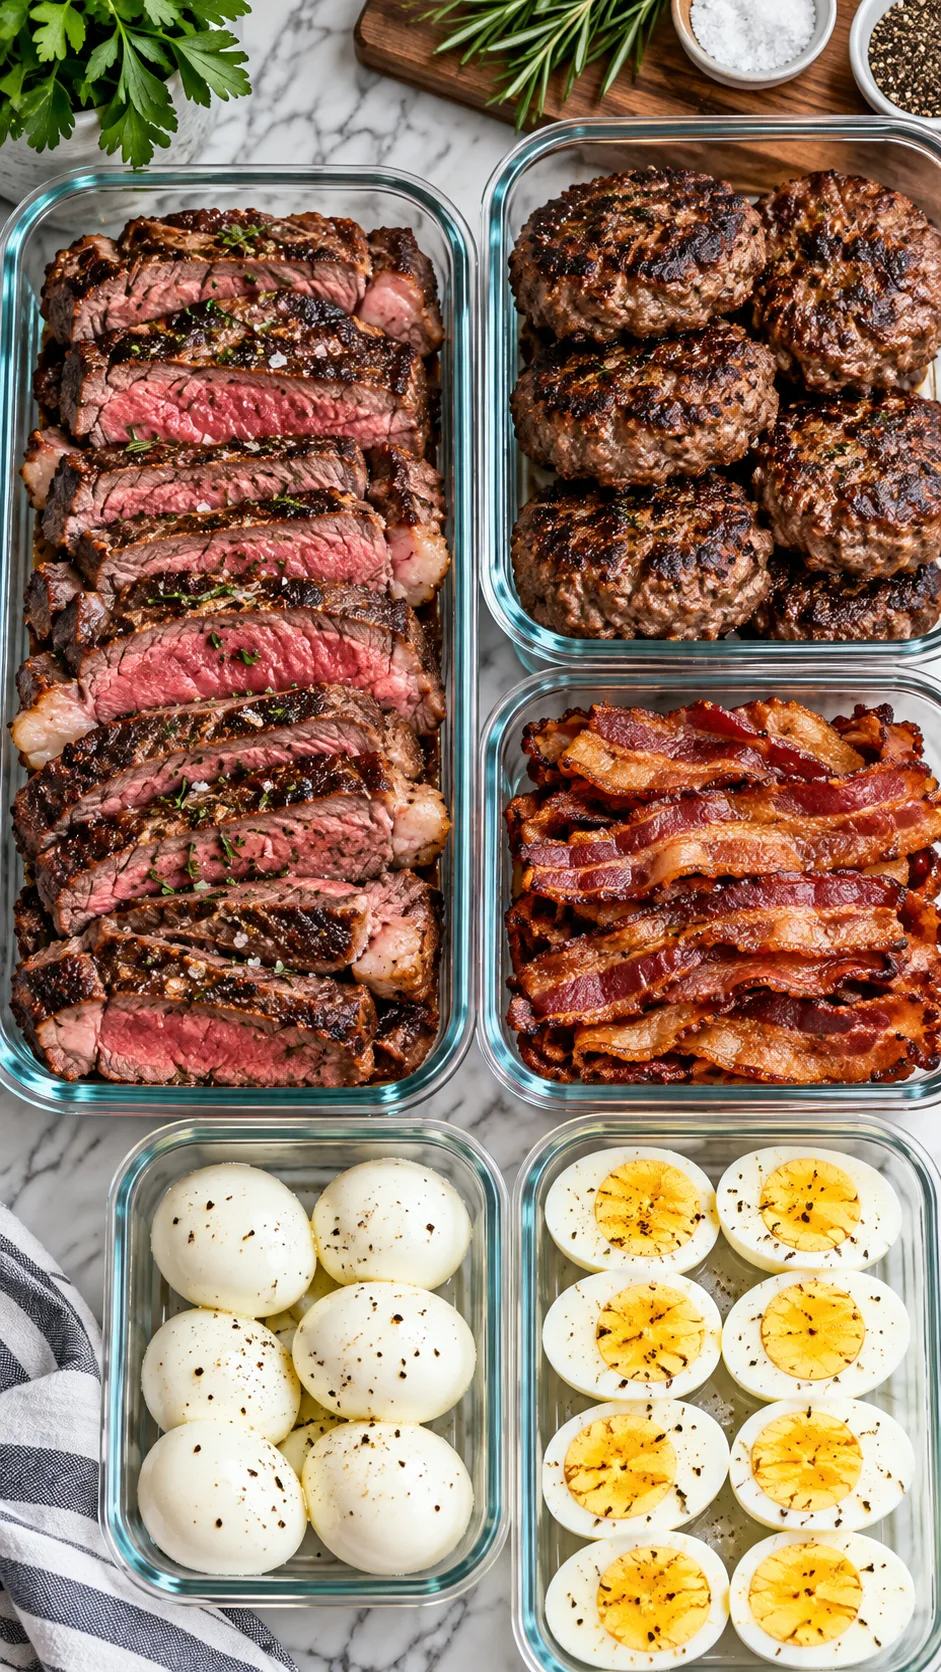
Why batch cooking beats daily carnivore chaos
Standing over a smoking cast-iron skillet twice a day gets old fast. By day five, the romance disappears into a cloud of smoke and grease.
Cooking in bulk offers direct, practical advantages for daily life:
- You eliminate decision fatigue: When hunger hits, you pull out a container, warm your meat, and eat. You never waste energy debating what to make.
- You save money every month: Buying whole primals, bulk roasts, and family packs slashes your grocery bill. A planned Costco haul for bulk meat prep can cut your cost per pound in half compared to buying single steaks at the grocery store.
- You clean the kitchen once: Roasting and searing meat splatters grease everywhere. Wiping down the stove once a week beats scrubbing it after every single meal.
- You stay on track: Extreme hunger leads to terrible dietary compromises. When you have two pounds of cooked brisket waiting in your fridge, you easily ignore the donuts in the breakroom.
Eating pure animal protein gives you steady physical energy, but only if you stick to the plan. Batch cooking provides the safety net you need to succeed every day.
The core rules of carnivore meal prep
Prepping plain meat differs fundamentally from standard meal prep. You have no rice to soak up pan juices and no vegetables to mask dry meat. If you overcook your beef on Sunday, you will choke down dry leather by Thursday.
1. Never discard your rendered fat
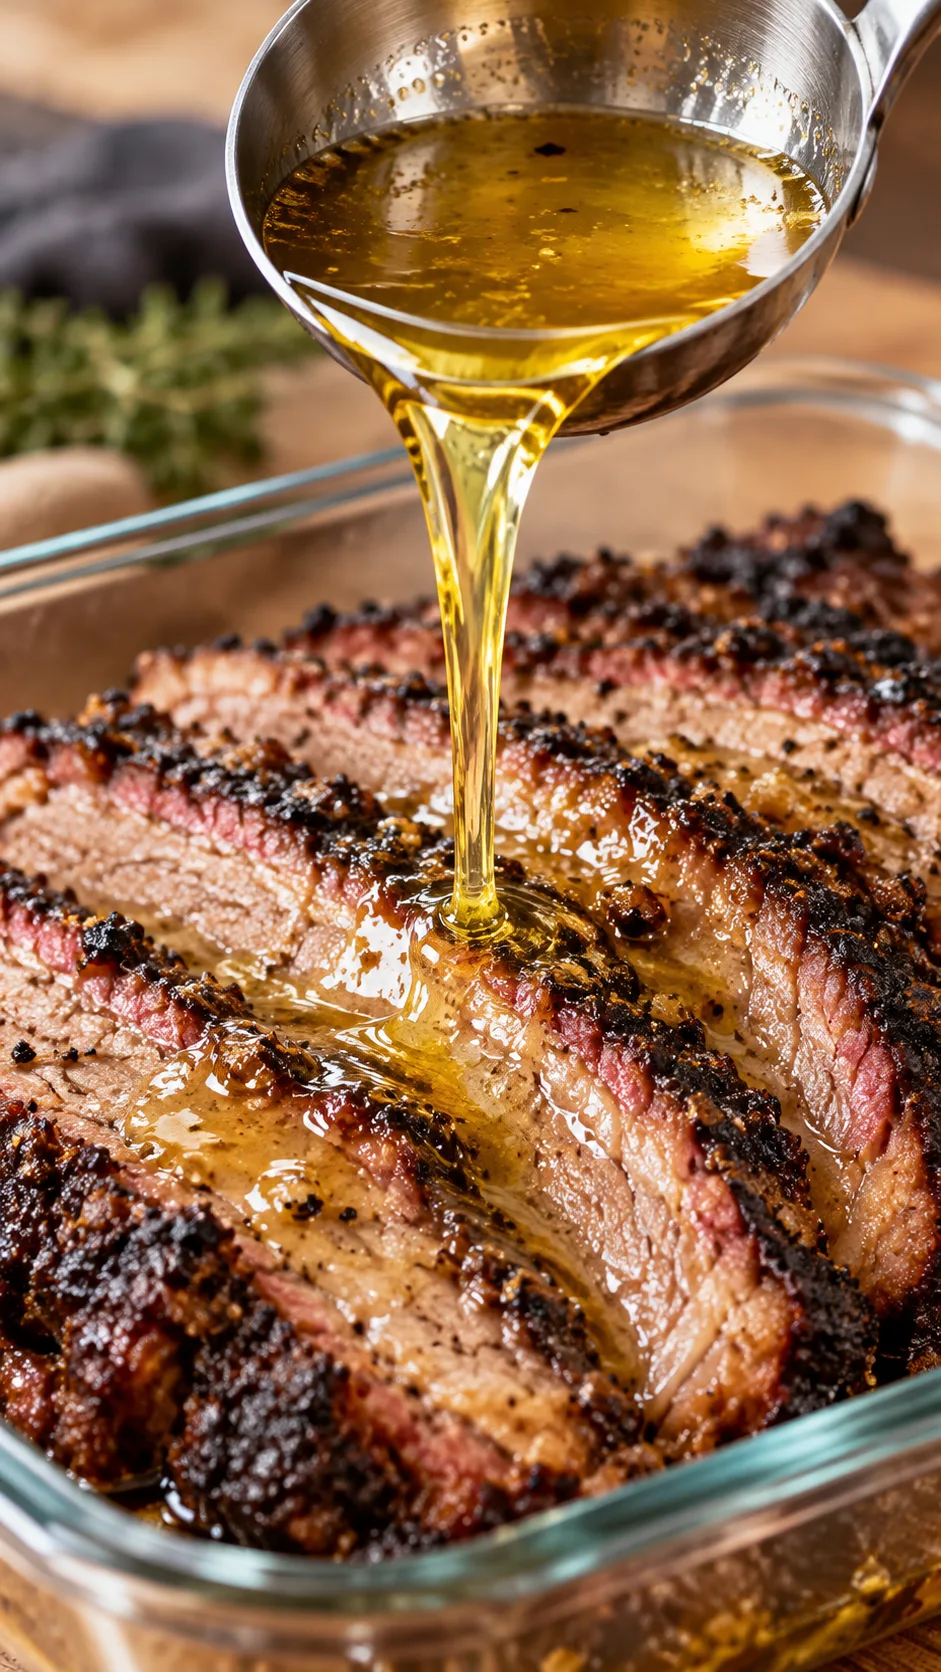
Standard meal prep advice tells you to drain meat into the trash. On a carnivore diet, you treat rendered fat like gold. When you bake burger patties or roast chuck, pour every drop of rendered tallow back over the cooked meat before you snap the lids shut.
As the meat chills in the fridge, that fat forms a solid protective layer. It locks in moisture, keeps the meat tender, and provides the fuel your body needs when running without carbohydrates. Tossing out rendered beef tallow wastes flavor and money.
2. Undercook red meat slightly
Reheating meat cooks it a second time. If you grill a steak to well-done on Sunday, your skillet or air fryer will turn it into shoe leather by Wednesday lunch.
Aim for rare to medium-rare during your prep session. Pull your steaks off the heat when an instant-read thermometer registers 125°F (52°C). When you reheat the portion later, the interior warms gently to a juicy medium doneness.
3. Choose cuts with ample connective tissue and fat
Boneless chicken breast and lean round steak turn dry and chalky in the fridge. Collagen-heavy cuts like chuck roast, brisket, short ribs, pork belly, and 80/20 ground chuck stay tender through multiple reheats. The gelatin breaks down during the initial cook, coating the meat fibers and preserving a tender texture all week.
Published research on animal foods from the National Institutes of Health on animal-source foods demonstrates that whole red meats provide bioavailable amino acids and micronutrients that keep you full far longer than ultra-processed fare.
The one-week carnivore grocery haul
You do not need complicated ingredients. Keep your cart focused on fatty, versatile cuts that handle bulk heat well.
Here is your shopping list for seven full days of animal-based meals:
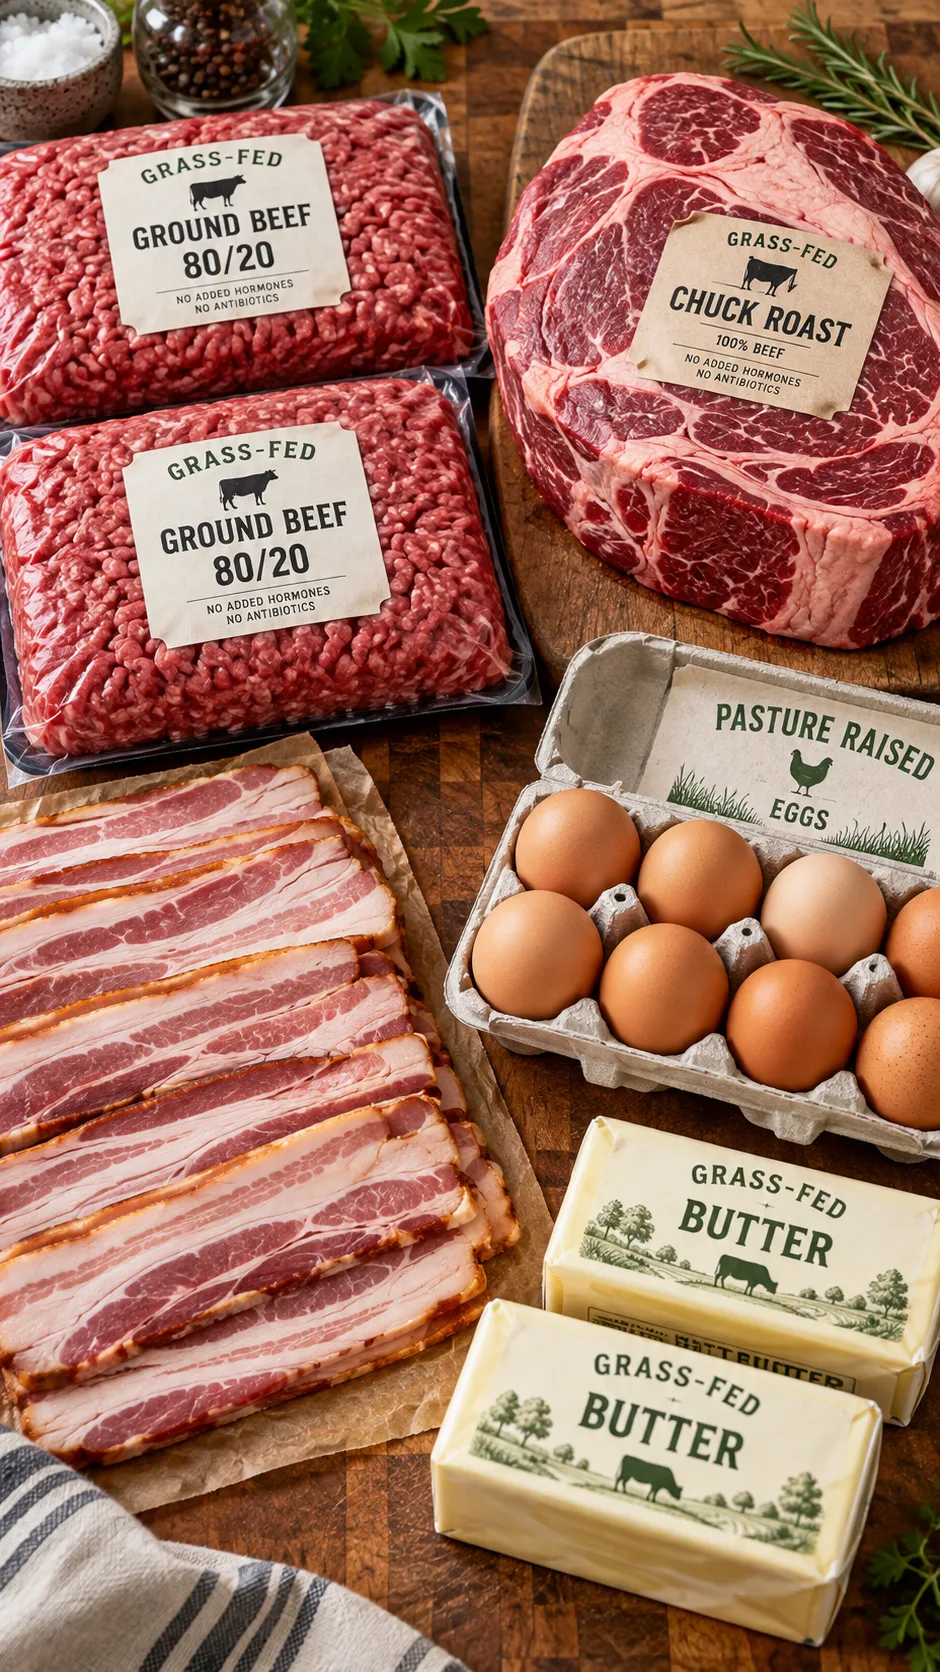
- Ground Beef (80/20 or 75/25): 5 pounds. Ground beef is the most affordable foundation for this diet. You can consult our collection of ground beef meal prep recipes to switch up your preparations.
- Beef Chuck Roast: 3 to 4 pounds. Chuck roast provides rich, shreddable beef that rivals prime rib when you braise it properly.
- Bone-In, Skin-On Chicken Thighs: 3 pounds. Dark poultry meat supplies generous fat and crisp skin, giving you a welcome break from pure beef.
- Thick-Cut Bacon: 2 pounds. Bacon gives you instant fat, quick snacks, and easy morning meals. Check the package label to ensure the cure contains no added sugar or dextrose.
- Pasture-Raised Eggs: 2 to 3 dozen. Eggs cook in minutes, supply choline, and complement any meat dish.
- Grass-Fed Butter or Ghee: 2 blocks (about 1 pound). Use this for pan searing, enriching sauces, and dipping meat.
- Coarse Flaky Sea Salt: Redmond Real Salt or Maldon flakes. Salt provides all the seasoning you need on an animal-based diet.
Kitchen gear that speeds up your prep
Prepping ten pounds of meat with a dull paring knife and a single undersized frying pan will ruin your afternoon. The right heavy-duty tools turn an exhausting kitchen chore into a smooth assembly line.
- Extra-Large Rimmed Baking Sheets: Buy two commercial half-sheet pans. You can roast twenty burger patties or two pounds of bacon at the same time without flipping a single piece of meat.
- A 6-Quart Instant Pot or Dutch Oven: Pressure cookers turn tough, inexpensive chuck roast into fork-tender shredded beef in an hour flat.
- Instant-Read Digital Thermometer: Stop guessing doneness. A quick probe tells you the second poultry reaches a safe internal temperature and keeps you from overcooking steaks. Review the USDA guidelines for safe cooking temperatures to balance tenderness with food safety.
- Airtight Glass Storage Containers: Hot animal fats degrade and warp cheap plastic food containers. Heavy glass dishes preserve moisture, resist grease stains, and reheat safely in an oven or toaster oven.
The 90-minute batch cooking plan
You can knock out your entire week of cooking in one session. Put on some music, tie your apron, and run these cooking stations side by side so your appliances do the work for you.
Minutes 0 to 15: Prep and start the roast
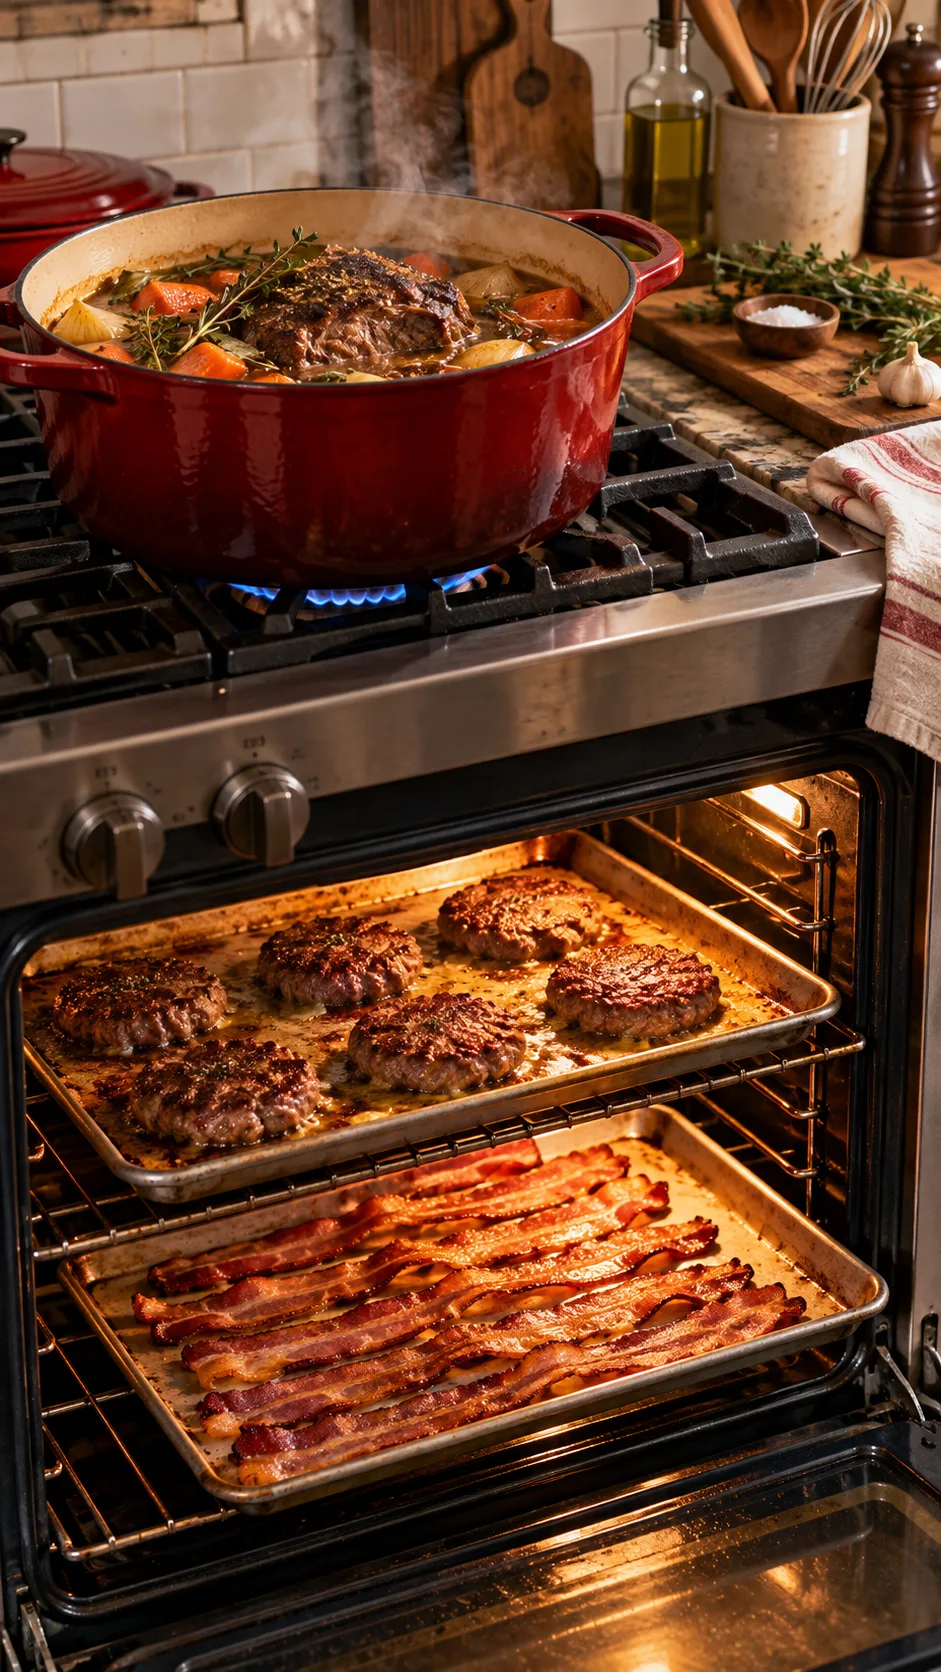
Set your oven to 400°F (204°C). Pull your 4-pound chuck roast from the fridge, pat it dry with paper towels, and season every surface heavily with coarse sea salt.
Melt two tablespoons of butter or beef tallow in your Instant Pot using the sauté mode, or use a heavy Dutch oven over high heat on the stove. Brown every side of the meat for two minutes until a dark crust forms. Add one cup of water or plain bone broth, seal the lid, and cook on manual high pressure for 65 minutes.
Minutes 15 to 35: Load the sheet pans
While the pressure cooker runs, line two large rimmed baking sheets with parchment paper to speed up cleanup later.
Spread two pounds of thick-cut bacon across the first sheet pan in neat rows. On the second pan, shape five pounds of 80/20 ground beef into ten half-pound patties. Press your thumb into the center of each patty so it stays flat as it bakes. Dust both sides generously with flaky salt.
Slide both pans into your 400°F oven. Set a timer for twenty minutes and let the oven do the work.
Minutes 35 to 55: Bacon retrieval and chicken prep
When the timer rings, take both pans out. Transfer the bacon to a plate or cooling rack, and pour the liquid bacon grease into a glass jar for cooking later in the week. Leave the burger patties on the pan to rest; their internal temperature will finish rising on the counter.
Raise the oven temperature to 425°F (218°C). Place your bone-in, skin-on chicken thighs skin-side up onto the greased bacon pan so the meat absorbs that extra fat. Salt the chicken skin heavily. Roast the chicken for thirty-five minutes until the skin turns golden and crisp and the internal temperature reaches 165°F (74°C).
Minutes 55 to 75: Boil the eggs and shred the beef
Bring a pot of salted water to a rolling boil. Lower twelve eggs into the water with a slotted spoon. Boil them for nine minutes if you prefer rich, jammy yolks, or eleven minutes for firm centers.
Fill a large bowl with cold water and ice cubes. When the timer sounds, transfer the eggs straight into the ice water. This sudden temperature drop contracts the egg white inside the shell, making peeling effortless.
Turn the steam release valve on the Instant Pot. The chuck roast should now pull apart with zero resistance. Use two dinner forks to shred the meat directly inside its cooking juices.
Minutes 75 to 90: Pack the containers and clean up
Pull the chicken thighs from the oven. Let all cooked meats rest at room temperature for ten minutes before you put lids on the containers. Trapping boiling steam creates condensation that dilutes your rendered fats and turns chicken skin soggy.
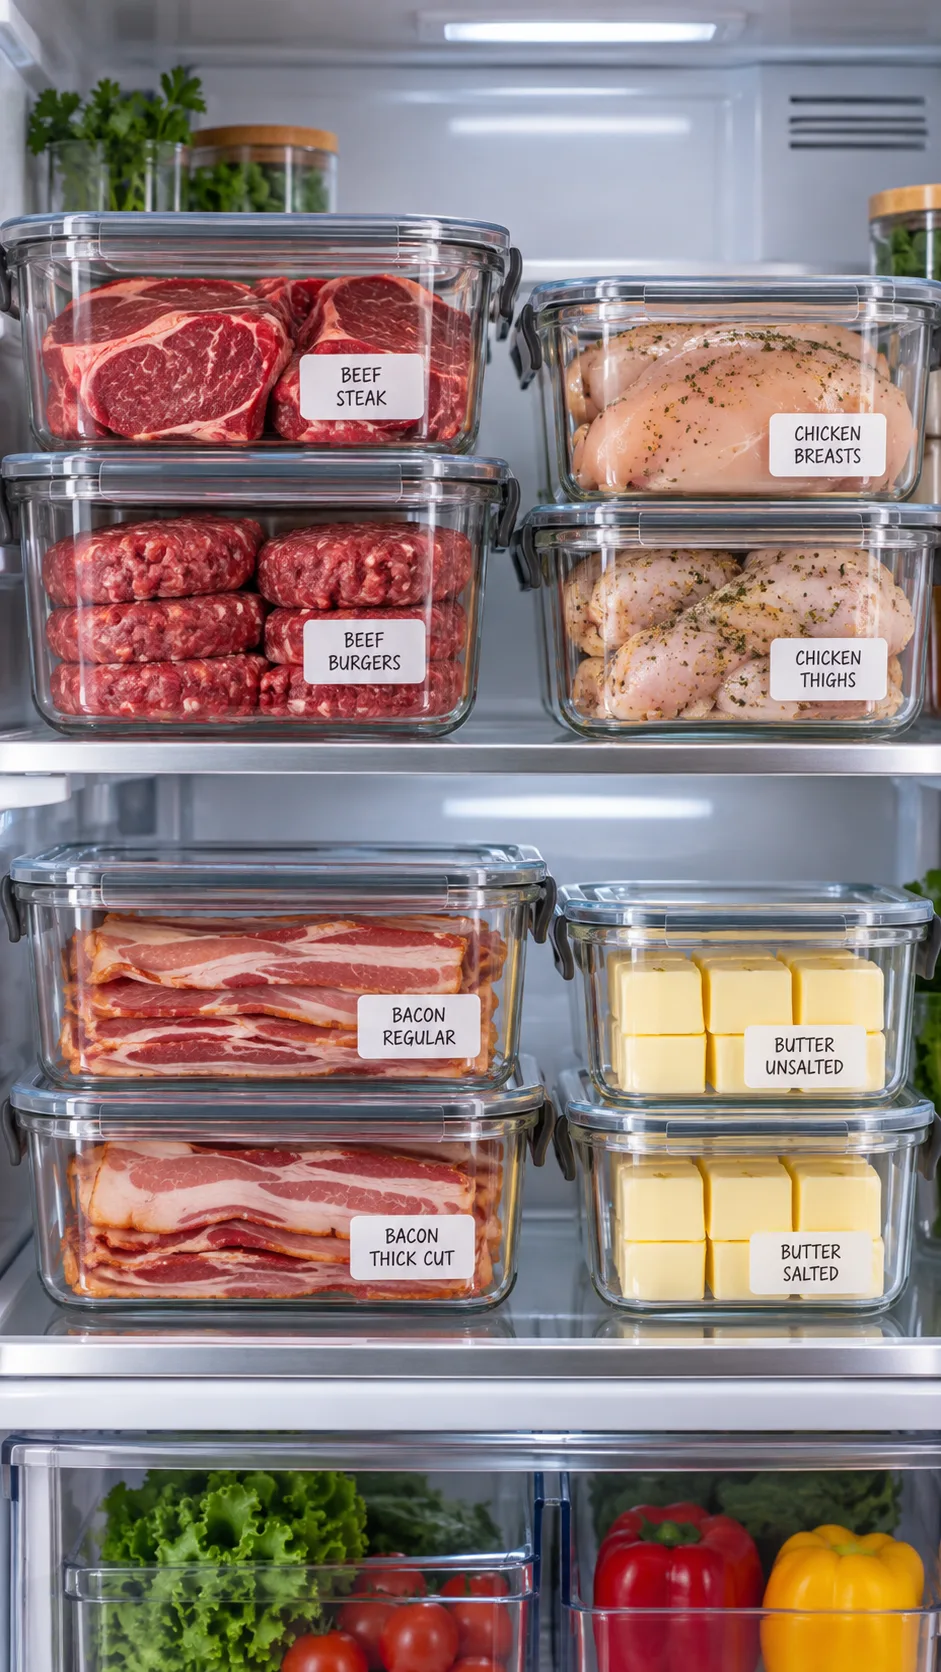
Divide the food into your glass containers:
- Container 1: Ten burger patties resting in their rendered pan juices.
- Container 2: Shredded chuck roast submerged in its rich broth.
- Container 3: Roasted chicken thighs stored dry to protect the crisp skin.
- Container 4: Cooked bacon strips alongside peeled hard-boiled eggs for instant morning meals.
Wipe the counters, throw away the parchment paper, and store your containers in the fridge. You have your food set for the entire week.
The 7-day carnivore meal plan
You can rotate these basic foods all week without getting bored. Variety on a carnivore diet comes from varying fat levels and cooking textures. This high-protein meal prep strategy keeps your meals simple and filling throughout the week.
- Monday:
Breakfast: Three hard-boiled eggs mashed with two tablespoons of salted butter and four cold bacon strips.
Dinner: Two burger patties reheated quickly in a hot skillet, topped with cold butter. - Tuesday:
Breakfast: Four strips of bacon and two eggs fried in reserved bacon fat.
Dinner: A bowl of shredded chuck roast served hot in its natural cooking broth. - Wednesday:
Breakfast: Two chilled hard-boiled eggs seasoned with coarse salt during your morning commute.
Dinner: Two crisp chicken thighs paired with one cold burger patty. - Thursday:
Breakfast: Four strips of thick-cut bacon dipped into melted ghee.
Dinner: Shredded chuck roast pan-fried in a dry cast-iron skillet until the edges turn brown and crunchy. - Friday:
Breakfast: Two cold burger patties salted straight from the fridge.
Dinner: Chicken thighs topped with flaky salt, served with three soft-boiled eggs. - Saturday:
Breakfast: Chopped bacon fried crisp in a pan, tossed with four eggs and plenty of butter.
Dinner: The last of the shredded beef chuck mixed with a diced burger patty in a hot skillet. - Sunday:
Breakfast: Three soft-boiled eggs with sea salt.
Dinner: A freshly seared ribeye steak before you start your next prep session.
Storage tips and reheating techniques
Cooking seven days of meat in advance requires sensible food storage. Cooked meat keeps well in a cold refrigerator below 40°F (4°C) for four days. For days five, six, and seven, adjust your approach.
The split storage method
Keep your portions for Monday through Thursday in the main refrigerator compartment. Put your Friday and Saturday meals into freezer-safe glass containers and set them in the freezer on Sunday night.
On Wednesday night, move those containers back to the refrigerator. They will thaw gradually over twenty-four hours, preserving their original texture and flavor without getting mushy.
Skip the microwave
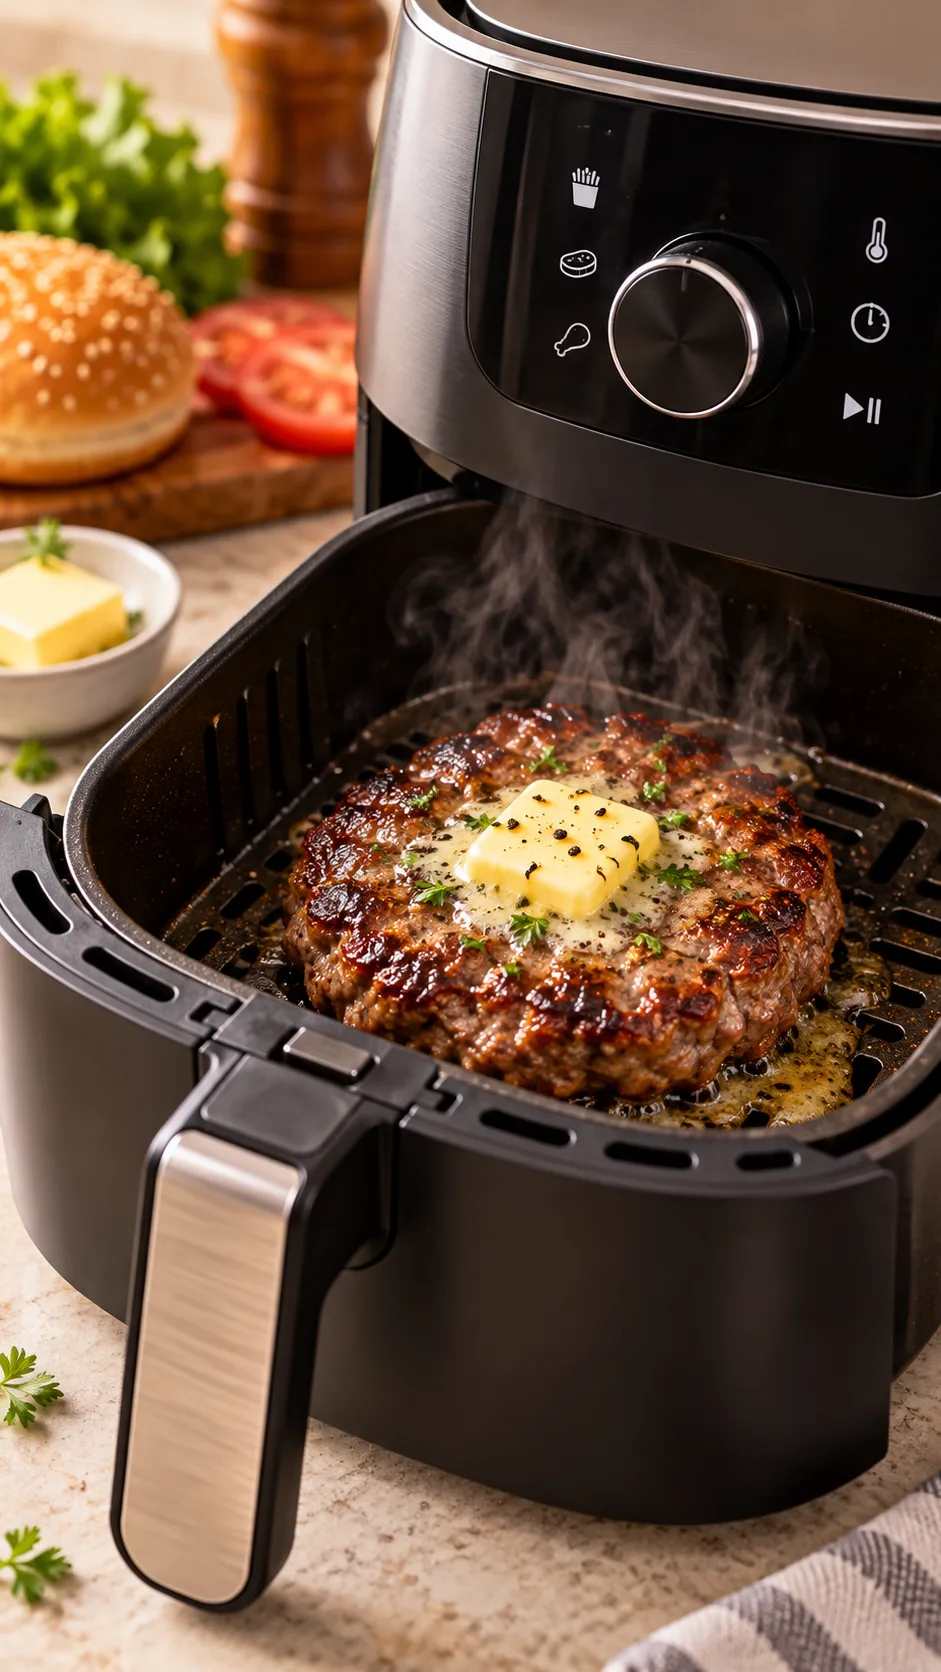
Microwaves boil water molecules inside food. Because lean muscle contains high levels of water and protein, microwaves heat that internal moisture violently, bursting cell membranes and making beef tough. Use these alternatives instead:
- The Countertop Air Fryer: Run your air fryer at 375°F (190°C) and reheat burger patties or chicken thighs for four to five minutes. The circulating dry air restores crisp exterior fats while warming the meat through.
- The Cast-Iron Flash Fry: Melt a tablespoon of tallow or butter in a hot skillet. Drop your shredded chuck roast into the pan for two minutes. The meat develops crunchy, savory bits on the edges while staying moist in the middle.
- The Toaster Oven: Warm sliced meats at 325°F (163°C) under a loose piece of aluminum foil to retain moisture.
Solutions for common carnivore prep problems
Even experienced meat eaters run into snags during bulk cooking. Keep these practical fixes in mind if problems arise.
Solid white fat on cold meat
Cold beef tallow hardens into an opaque layer in the refrigerator. Some people enjoy eating chilled fat, while others dislike the waxy texture. If you dislike cold fat, heat your food thoroughly before serving. Warm heat melts the tallow back into a rich liquid broth that coats the meat.
Histamine sensitivity from leftovers
Some people develop histamine reactions when they switch away from plants. Bacteria produce histamines on cooked meats as those meats sit in a refrigerator. A paper on histamine intolerance mechanisms notes that sensitive people can experience headaches, nasal congestion, or fatigue after eating stored proteins.
If you react to leftovers, do not store cooked meat in the fridge for four days. Freeze each portion as soon as it cools down on Sunday. Pull containers straight from the freezer and heat them directly before you eat. Freezing stops histamine accumulation immediately.
Take control of your weekly nutrition
An all-meat lifestyle cuts out the sugar and ultra-processed foods that leave so many people feeling sluggish. Even so, running out of ready food after an exhausting shift will test anyone’s resolve.
Invest ninety minutes this weekend. Heat your oven, brown your chuck roast, bake your burger patties, and stock your shelves with solid nutrition. When you keep ready meals on hand every single day, you protect your free time and stay consistent with zero friction.