

You want a backbend, not a fight between your lower back and the floor. You can build one safely without forcing your body into a shape it cannot manage yet.
A strong backbend uses shoulder mobility, hip extension, core control, and smart practice. Many beginners skip the groundwork, chase the final shape, then wonder why their wrists, neck, or low back hurt. Watching someone drop into a full wheel pose can make it look easy. It rarely feels easy at first.
This guide walks you through a practical backbend progression. You will learn when to advance, when to stay where you are, and how to keep a flexibility goal from becoming an injury.
First, know how a safe backbend should feel
A safe backbend creates a smooth curve through your whole spine. Your upper back, shoulders, hips, and thighs all help create that curve. Your lumbar spine should not do all the work by itself.
You should feel effort in your glutes, hamstrings, upper back, shoulders, and core. You may notice a mild stretch through your hip flexors, chest, and the front of your body. Stop right away if you feel sharp pain, pinching, numbness, dizziness, or electric sensations.
Talk with a qualified clinician or physiotherapist before you train backbends if you have back pain, wrist pain, a shoulder injury, osteoporosis, recent surgery, or a history of spinal conditions. The NHS guidance on back pain can help you spot signs that call for professional support instead of another stretch.
Mobility and flexibility differ
Flexibility lets a joint move through a range of motion. Mobility lets you control that range with strength and coordination. A safe backbend needs both.
One person may reach the floor in a bridge yet lack control. Another may lift only a little and control every part of the movement. Choose control every time.
Do this quick backbend readiness check
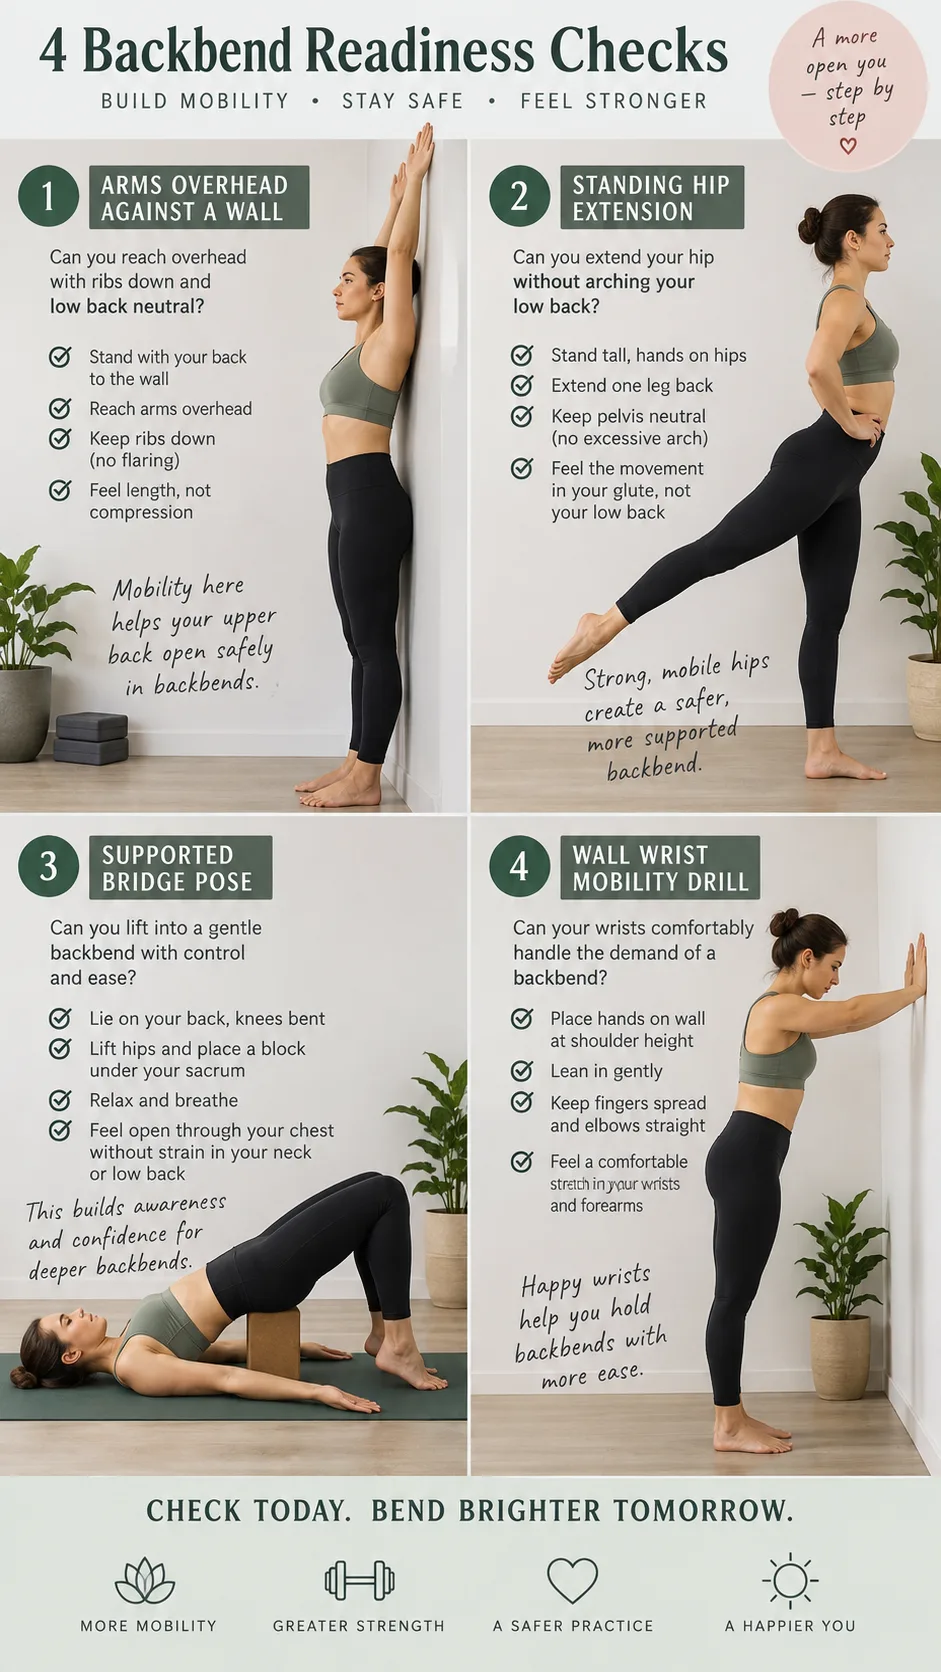
Before you work toward wheel pose, test a few basic positions. These checks cannot diagnose an injury, but they can show where you need more work. Pay attention to what your body tells you.
- Shoulder check: Stand tall and raise both straight arms overhead. Keep your ribs from pushing forward and avoid a hard arch in your lower back.
- Hip extension check: Squeeze one glute and move that leg slightly behind you. Keep your pelvis level rather than tipping it forward.
- Bridge check: Lie down, bend your knees, and lift into a low bridge. Hold for 20 seconds without knee pain, low back pinching, or hamstring cramps.
- Wrist check: Put your hands on a wall with straight elbows. Lean forward gently and see whether your wrists handle light pressure.
If one check feels limited, do not panic. It tells you where to spend your practice time. You will make better progress when you train that weak point instead of trying to overpower it.
Warm up before every backbend practice
Do not jump straight into deep backbends when your body feels cold or stiff. Take five to 10 minutes to raise your temperature and prepare the joints that support the position. A warm up can make the work feel smoother and help you judge your current range more clearly.
Use this 6-minute backbend warm-up
- Cat-cow: Move slowly for 8 to 10 rounds. Let your spine flex and extend without forcing the end of your range.
- Thoracic rotations: Start on hands and knees, put one hand behind your head, and rotate your chest open for 6 reps on each side.
- Low lunge with glute squeeze: Hold for 20 to 30 seconds on each side. Squeeze the glute on your kneeling leg to target the hip flexor.
- Wall shoulder slides: Stand with your back near a wall and slide your arms upward for 8 slow reps. Keep your ribs stacked over your pelvis.
- Wrist rocks: Start on hands and knees, then shift your shoulders gently forward and back for 10 reps. Use light pressure.
- Glute bridges: Complete 10 controlled reps and squeeze for two seconds at the top of each rep.
Move with your breath instead of racing through the list. Exhale during effort, especially when you lift into a bridge or press through your arms. Calm, predictable movement helps your nervous system settle. Save chaos for group chats, not mobility work.
The safe backbend progression for beginners
This progression builds the strength and range for a full backbend, also known as wheel pose or upward bow pose. Practice two or three times each week, with at least one recovery day between harder sessions. Your tissues respond to steady practice, not one heroic stretching session.
Step 1: Master the glute bridge
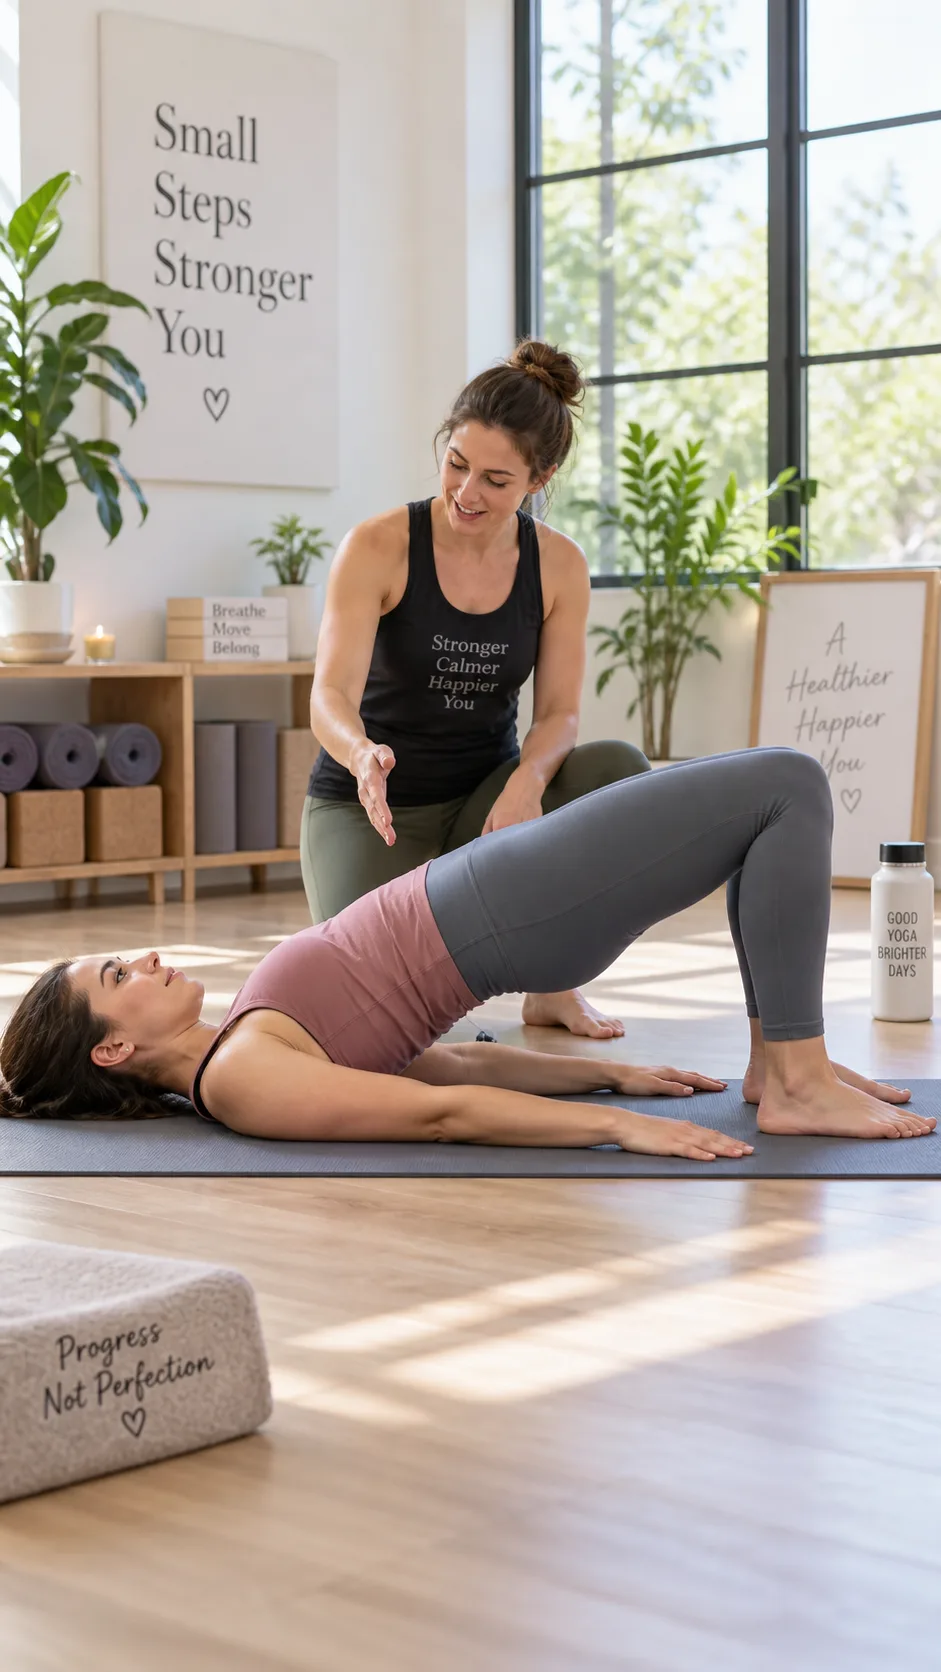
Lie on your back with bent knees and feet hip-width apart. Put your heels close enough that your fingertips almost touch them. Press through your feet, squeeze your glutes, and lift your hips until your torso and thighs make a gentle diagonal line.
Keep your ribs from shooting upward. Think “long tailbone” rather than “higher at all costs.” Hold for 15 to 30 seconds, then lower with control.
Complete three sets of 8 to 12 reps or three 20-second holds. Move on when you can keep your knees steady and breathe without pain. Strong glutes help take stress off your lower back in larger backbends.
Step 2: Add a supported bridge pose
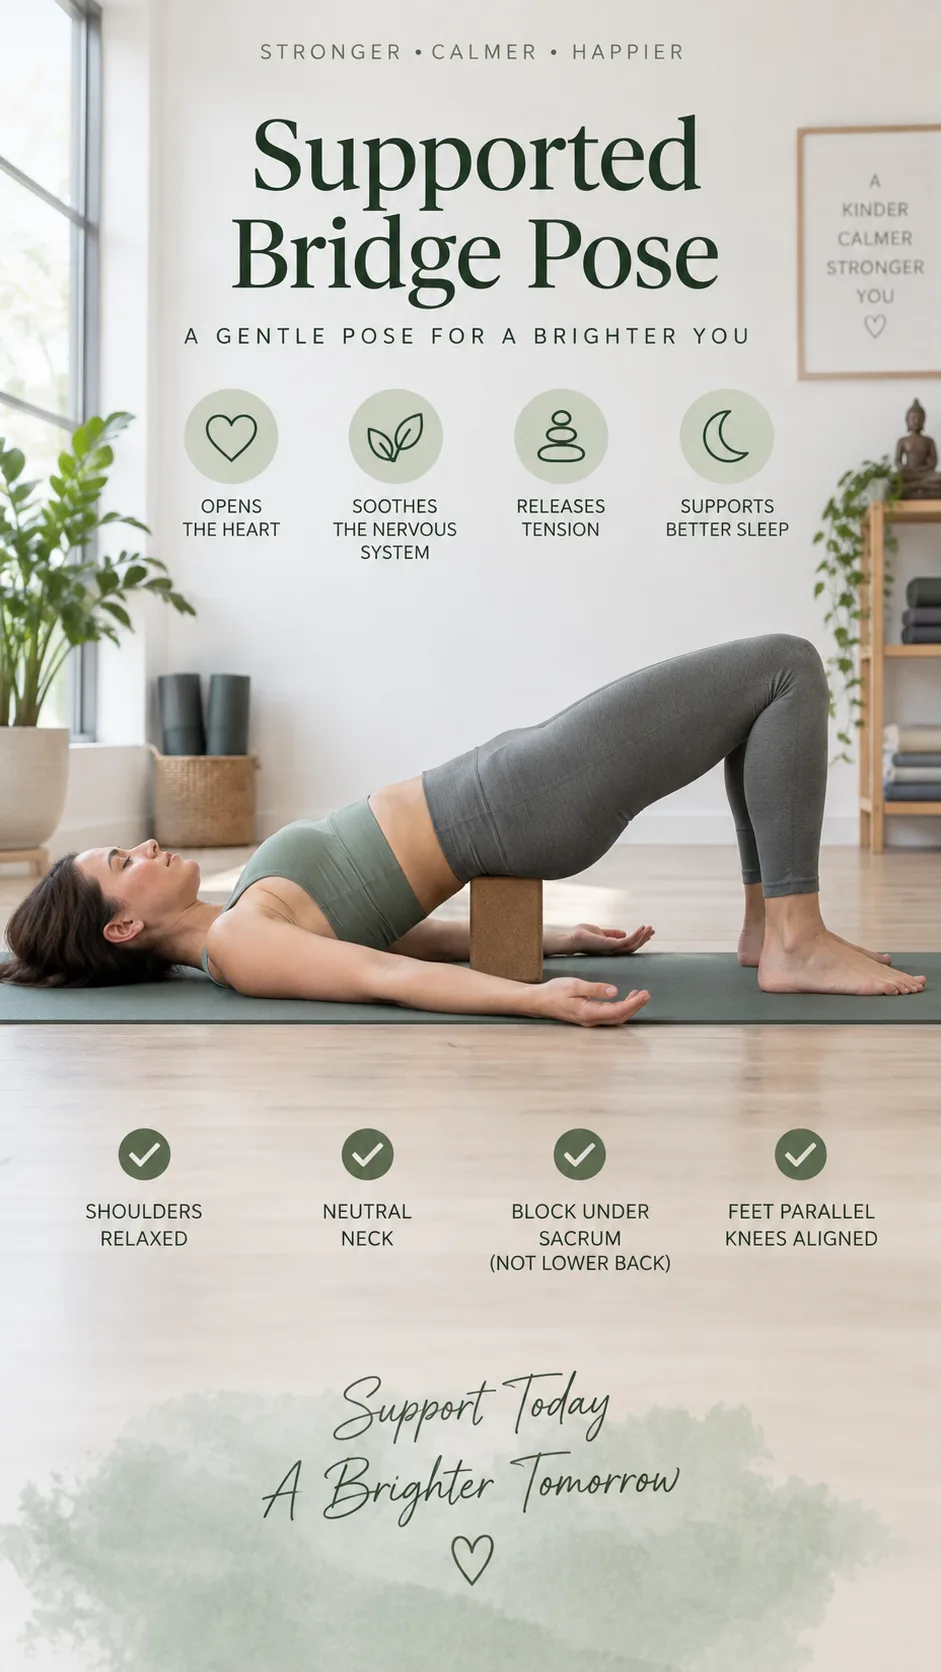
Lift into bridge, then place a yoga block, firm cushion, or folded blanket under your sacrum. Let the support take some of your weight while you relax your chest and breathe. Keep your neck long and look straight up.
This variation helps your body learn that extension can feel stable. Hold for 30 to 60 seconds, remove the support, and roll down slowly. Do not turn your head from side to side in any bridge variation.
Step 3: Build thoracic extension with a wall
Face a wall, place your hands at chest height, and walk your feet back. Push the wall away while you lower your chest between your upper arms. Bend your knees slightly and keep your ribs from flaring too far forward.
This drill gives your shoulders and upper back room to open without putting all the pressure in your lumbar spine. Hold for five slow breaths, rest, and repeat two or three times. Notice the difference between opening your chest and crunching into your low back.
You can use a sturdy chair for this drill if it feels stable. Pick a chair that will not slide or tip, then set it against a wall. Skip the furniture acrobatics.
Step 4: Practice bridge with arms overhead
Return to your regular bridge pose and reach both arms behind you toward the floor. Keep your elbows straight if your shoulders allow it. Your arms may hover well above the floor at first, and that is fine.
This variation connects hip extension with shoulder flexion, which you need for a full wheel. Do three sets of five slow reps. Pay attention to your rib position and breathing rather than whether your hands touch the floor.
Step 5: Try wall walks before full wheel pose
Stand with your back about one foot from a wall. Lift your arms, lean your upper back toward the wall, and place your hands behind you. Walk your hands down only as far as you can control, then walk them back up.
Keep your feet planted and track your knees over your toes. Begin with a small range. Even a few inches can teach the pattern. Ask a trusted coach to spot you if you feel nervous, especially on your first attempts.
Wall walks can help you get used to the upside down feeling. They can also tell you whether your shoulders can support the position. If your wrists or shoulders hurt, return to the earlier drills and build more strength.
Step 6: Press into a full wheel pose
Lie on your back with your feet hip-width apart. Place your hands beside your ears, point your fingers toward your shoulders, and aim your elbows roughly toward the ceiling. Press through your feet and hands, then lift your hips and chest together.
Start by bringing the crown of your head lightly toward the floor only if your neck feels comfortable. Then press firmly through your hands, straighten your elbows as much as you can, and lift your chest away from the floor. Think “push the floor away” instead of “throw your head back.”
Hold for three to five calm breaths, then bend your elbows and lower with control. Rest on your back for a few breaths before you try again. Two or three solid attempts beat 10 shaky ones.
Common backbend mistakes that cause trouble
Beginners often blame tightness when their position causes the problem. Fix these habits early, and your backbend can feel much better.
- You flare your ribs: Exhale gently and draw your front ribs down before you lift.
- You squeeze only your lower back: Drive through your feet, use your glutes, and open your chest.
- Your knees fall outward: Keep your knees parallel. Put a yoga block between your thighs if you need feedback.
- You let your elbows wing out: Press your hands into the floor and imagine your upper arms drawing toward each other.
- You hold your breath: Take slow breaths so tension stays useful instead of turning panicky.
- You train hard every day: Give your wrists, shoulders, and spine time to recover and adapt.
Strength work can improve your backbend faster than endless stretching. Rows, overhead presses, dead bugs, split squats, and glute bridges can all support the positions you need. If you want stronger shoulders and grip too, follow this pull-up progression from dead hang to first rep. Controlled hanging can work well alongside shoulder mobility practice.
How often should you practice backbends?
Most beginners do well with two or three focused sessions each week. Keep each session around 15 to 25 minutes, including your warm up and cooldown. Your body needs enough repetition to learn the skill and enough recovery to gain strength.
Use easier mobility drills on rest days if they feel good. Walk, train your legs, or work on a beginner pull-up progression to build balanced upper body strength. Balanced training can help your shoulders manage backbends with more confidence.
The American Council on Exercise offers practical exercise education resources for building a well-rounded routine. If joint pain persists or symptoms keep returning, seek individual advice from a licensed physiotherapist or sports medicine professional.
Cool down without undoing your progress
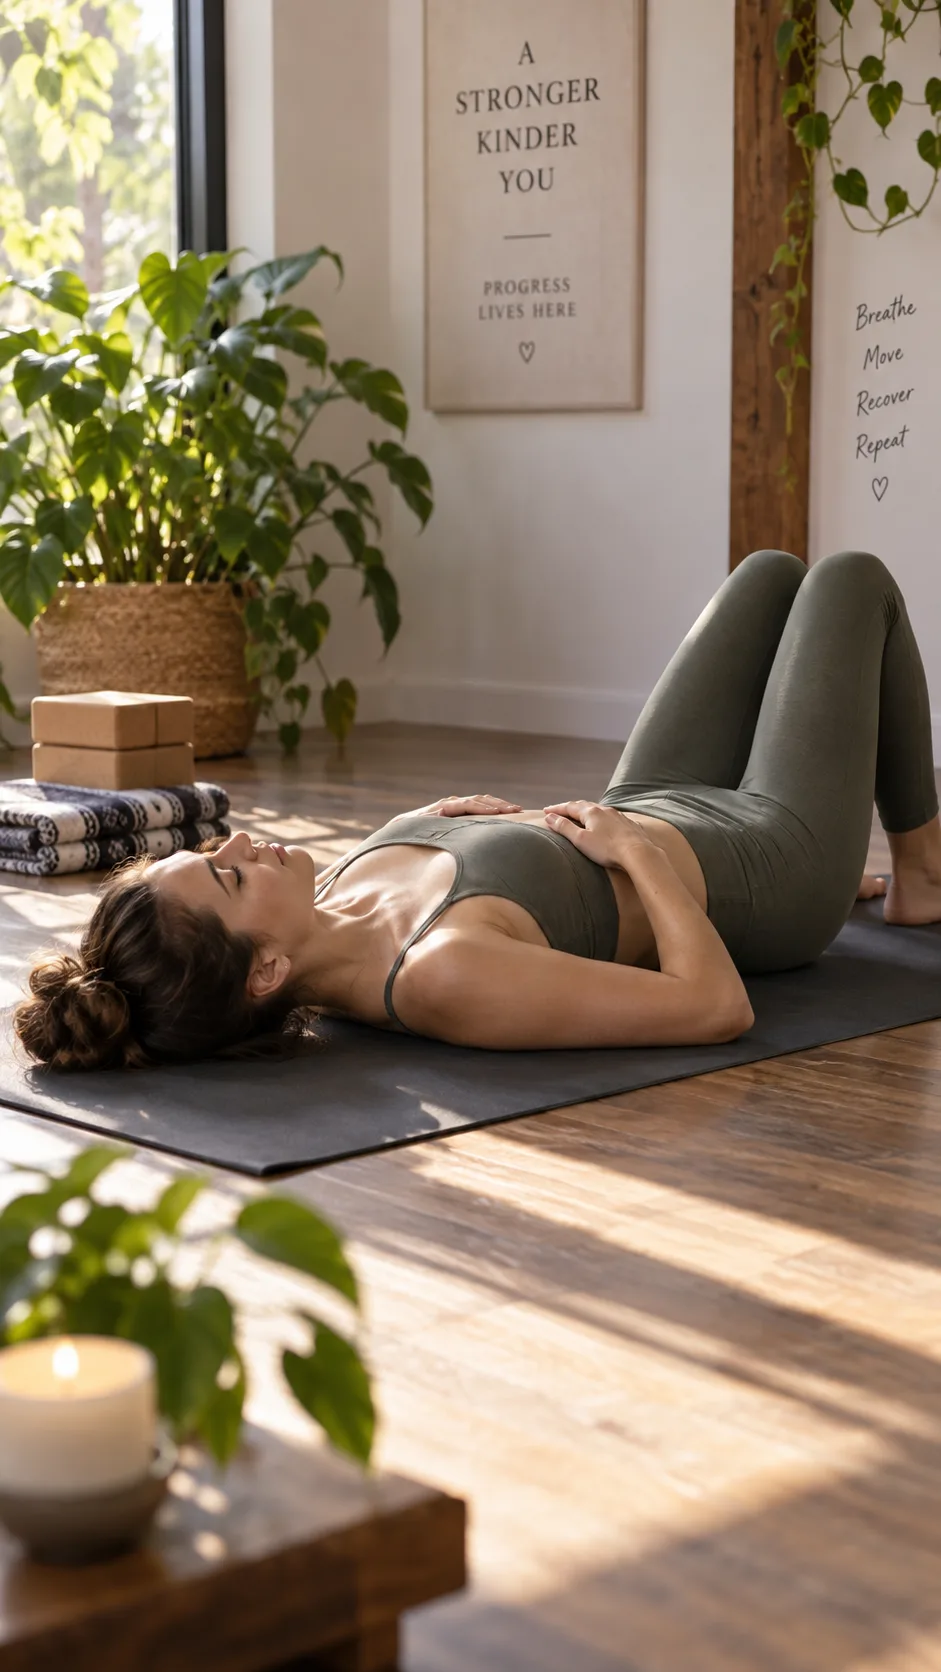
After a backbend, bring your spine back toward neutral with gentle movement. Hug your knees toward your chest, take a slow walk, or lie flat with bent knees. Avoid forceful forward folds right after a deep bridge or wheel.
Try one minute of relaxed breathing with your feet on the floor. Let your ribs soften and notice how your back feels. Teach your body that extension can feel safe. Do not punish it for cooperating.
Final thoughts: Build the backbend you can control
A safe backbend starts with a strong bridge, mobile shoulders, active glutes, and steady breathing. Move from supported bridges to wall drills, then work toward wheel pose with patience. Never force range that you cannot control.
Track the small wins: smoother bridges, calmer wrists, a higher chest lift, and easier breathing. Those changes build faster than you may expect. Build the shape slowly, control every inch, and aim for a backbend that feels strong rather than merely dramatic.