

You’ve been staring at that pull up bar like it personally offended you. You grab it, you hang there, and then nothing. Your body refuses to move. Sound familiar? You’re not alone, and more importantly, you’re closer than you think.
Getting your first pull up is one of the most satisfying milestones in fitness. It tests your back, biceps, core, and honestly, your ego. But with the right pull up progression plan, anyone can get there. Here’s how to break it down, step by step.

Why pull ups are so hard (it’s not just you)
Pull ups demand that you lift your entire bodyweight using only your upper body. That’s a brutal ask, especially if you’ve never trained your back muscles seriously. Most people struggle because they skip the foundational strength work and jump straight to the bar.
The muscles you need, including your lats, rhomboids, biceps, rear delts, and core, take time to develop. The good news is they respond really well to targeted training. Ever wondered why some people knock out pull ups effortlessly? They built the base first.
Step 1: Master the dead hang
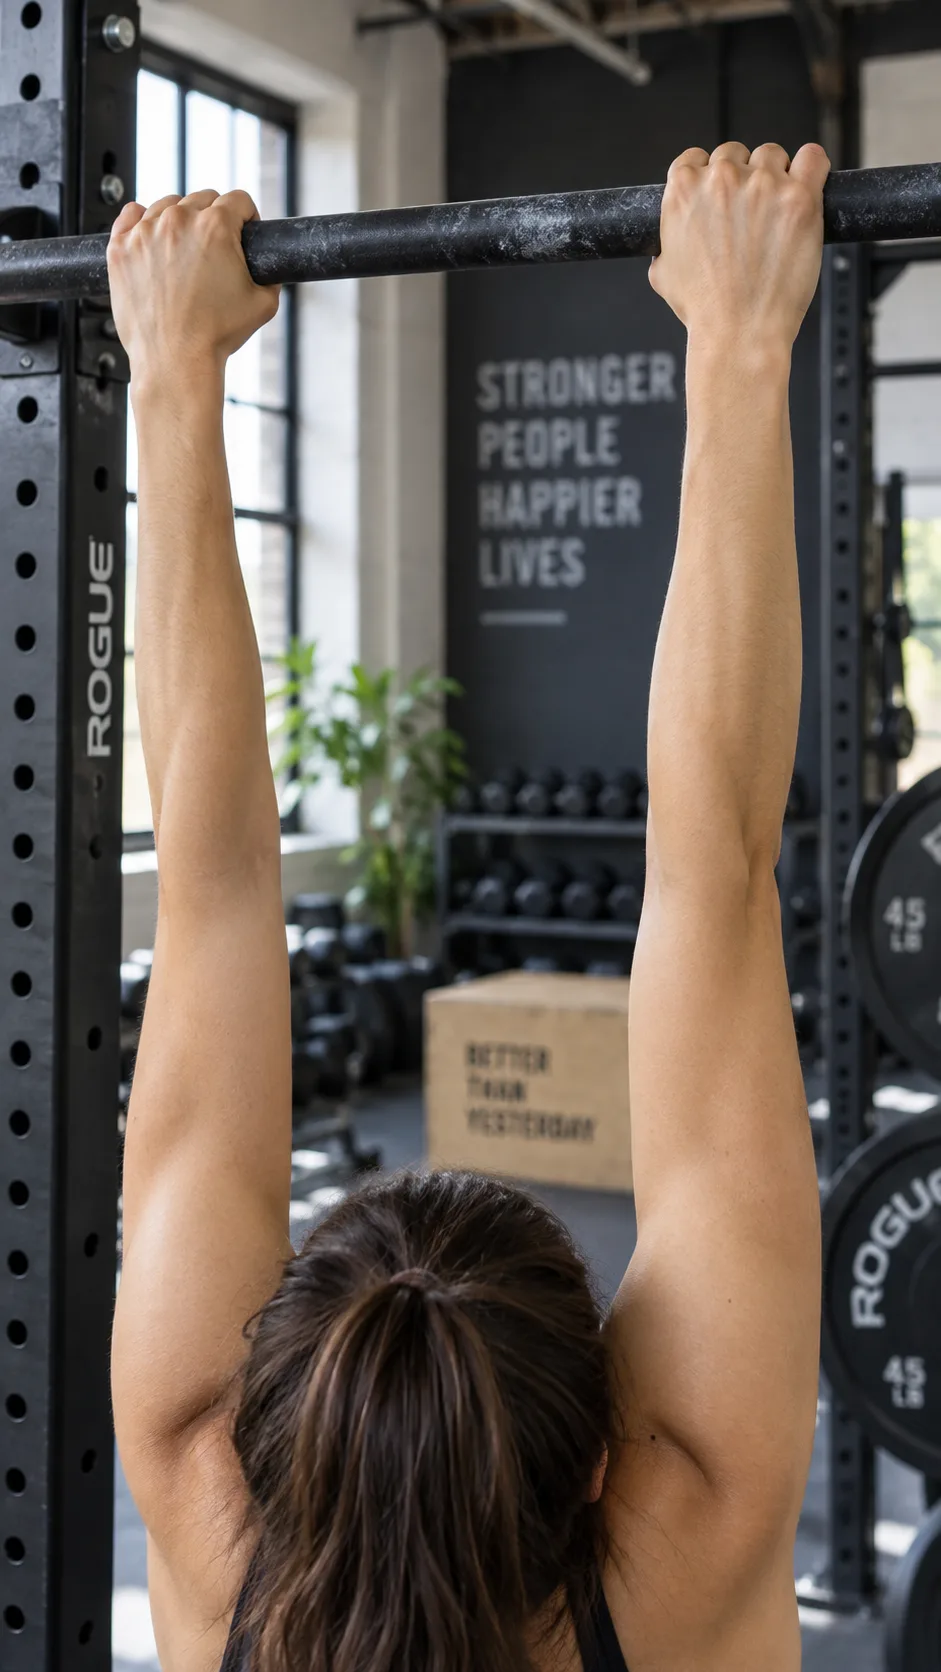
Before you pull yourself up, you need to hang. A dead hang is simply hanging from the bar with straight arms, no shrugging, no swinging. It builds grip strength, decompresses your spine, and teaches your shoulders to stay packed and stable.
How to do a proper dead hang
- Grip the bar slightly wider than shoulder-width
- Let your arms go fully straight and don’t let your shoulders creep up to your ears
- Engage your core lightly, because dangling like wet laundry won’t cut it
- Breathe normally and hold for 10-30 seconds per set
Aim for 3-5 sets of dead hangs daily. Build up to 60 seconds before moving on. Grip is often the first thing to give out on pull ups, so fix that early.
Step 2: Scapular pull ups, the most underrated exercise you’re skipping
A scapular pull up looks tiny but hits different. You hang from the bar and, without bending your elbows, squeeze your shoulder blades down and together. Your body rises just an inch or two. That’s it.
This move activates the lats and builds scapular control, which is the exact foundation you need for a real pull up. According to ACE Fitness, proper scapular engagement is one of the most important prerequisites for upper body pulling movements.
Scapular pull up protocol
- Hang from the bar in a dead hang
- Without bending your elbows, pull your shoulder blades DOWN and BACK
- Hold for 2 seconds at the top
- Slowly lower back to the dead hang
- Repeat for 3 sets of 8-10 reps
Step 3: Inverted rows, build that back strength
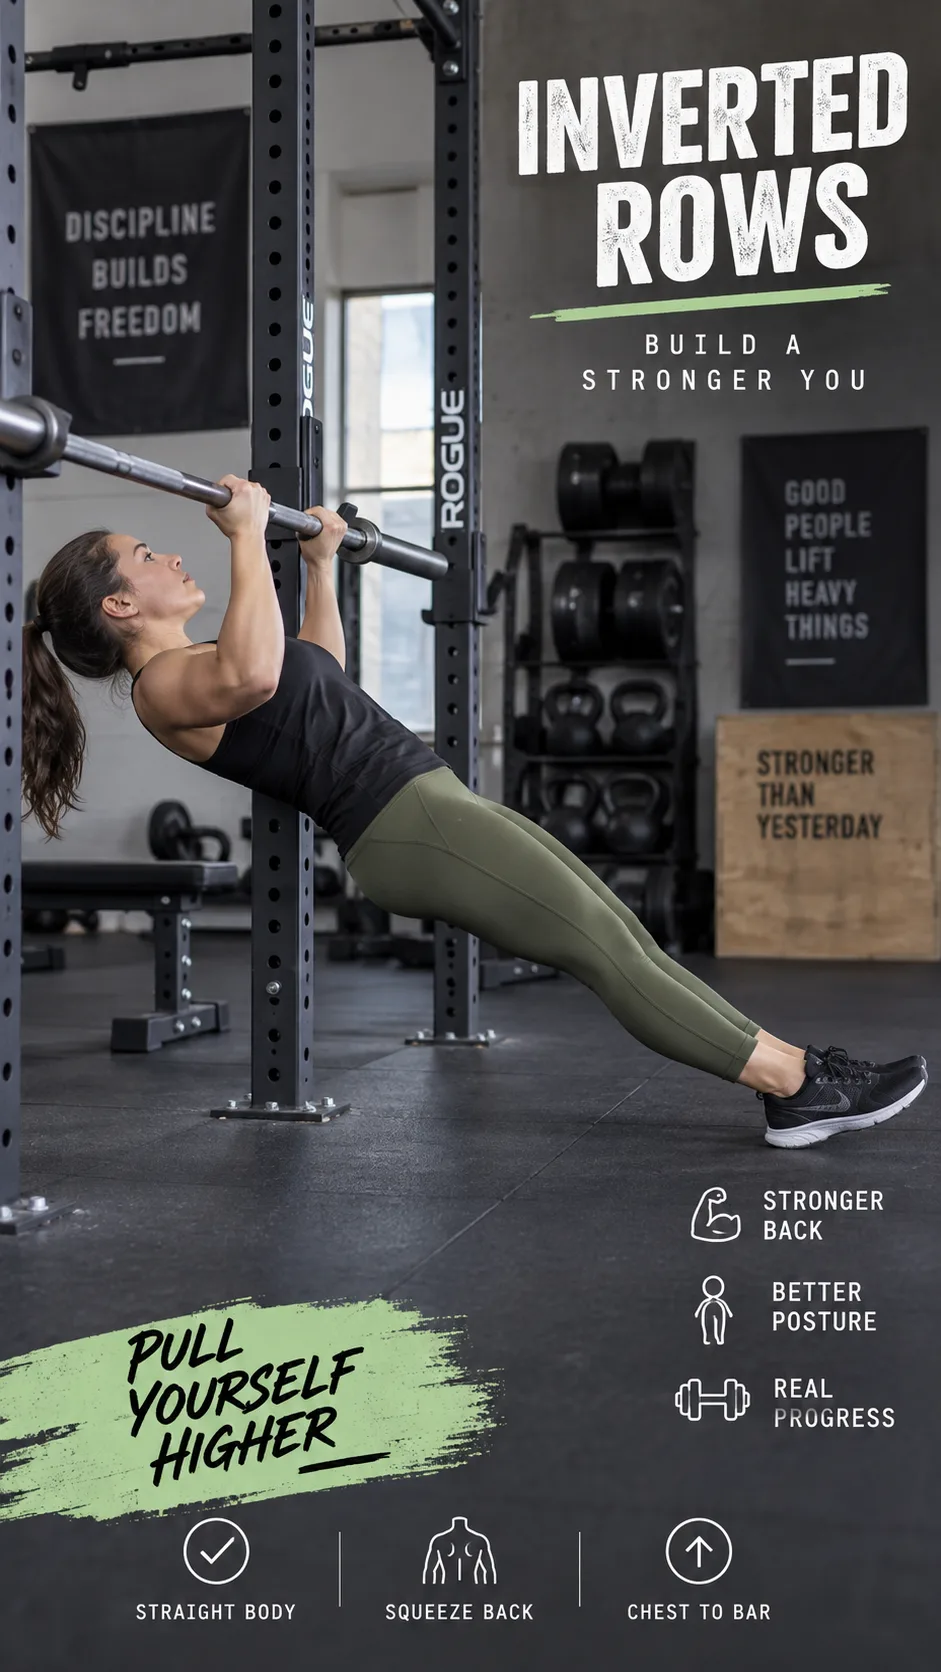
If you can’t do a pull up yet, inverted rows are your new best friend. You set a bar at waist height, lie underneath it, grab it with both hands, and pull your chest up to the bar. The more horizontal your body, the harder it gets.
Inverted rows train the exact same muscles as pull ups but with less resistance. You can also do these with gymnastic rings or a TRX. This one exercise alone has helped thousands of beginners build enough pulling strength to eventually hit their first unassisted rep.
Step 4: Assisted pull ups, time to actually use the bar
Now you’re ready to get on the bar properly. Assisted pull ups reduce how much weight you actually lift, making the movement accessible while still training the full range of motion.
Option A: Resistance band pull ups
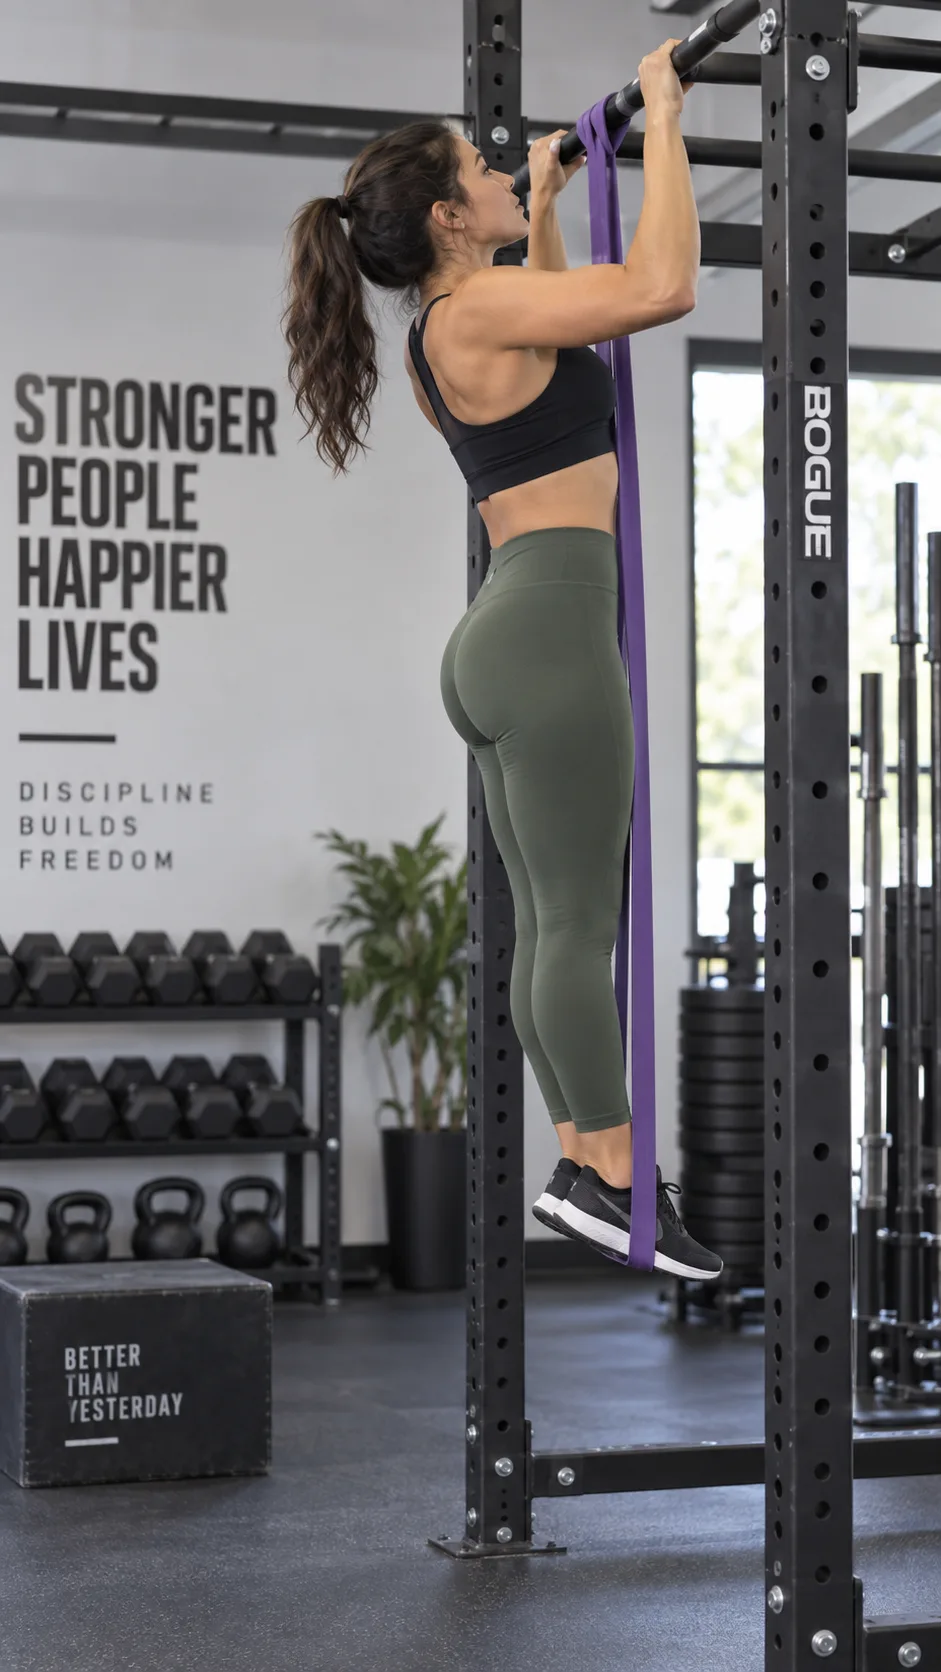
Loop a heavy resistance band around the bar and place your knee or foot in it. The band takes some of your weight as you pull up. Start with a thicker band and gradually switch to thinner ones as you get stronger. This is one of the most practical tools for pull up progression, full stop.
Option B: Assisted pull up machine
Most gyms have one. You set the weight, which counterbalances your bodyweight. Aim to reduce the assistance by 5-10 lbs every 1-2 weeks. The goal is always to need less help over time.
Option C: Partner assisted pull ups
Have a gym buddy hold your ankles or spot you at the waist while you pull. Make sure they give you minimum help, enough to complete the rep and nothing more. Cheating yourself here helps nobody.
Step 5: Negative pull ups, embrace the controlled drop
Negatives are where the real magic happens. You jump or step up to the top position of a pull up (chin above bar), then lower yourself as SLOWLY as possible, aiming for 5-8 seconds on the way down. That slow lowering phase builds serious strength fast.
Research published on PubMed confirms that eccentric (lowering) training produces significant strength gains, often greater than concentric training alone. Your muscles work harder on the way down than most people expect.
Negative pull up protocol
- Jump or step up so your chin clears the bar
- Hold at the top for 1-2 seconds
- Lower yourself over 5-8 seconds and fight gravity the whole way
- Land softly, reset, and repeat
- Do 3-5 sets of 3-5 reps
The weekly pull up progression plan
Consistency beats intensity every time. Here’s a simple weekly structure you can actually stick to:
- Day 1: Dead hangs + Scapular pull ups + Inverted rows
- Day 2: Rest or light cardio
- Day 3: Assisted pull ups (band or machine) + Negative pull ups
- Day 4: Rest
- Day 5: Full session combining all exercises, then test a real pull up attempt
- Day 6 & 7: Active recovery or rest
Stick to this for 6-8 weeks and most beginners see serious results. If you’re also working on body composition, check out these 39 best Nigerian foods for weight loss. Every kilo you drop makes that pull up easier.
Common mistakes that kill your progress
Here are the biggest pull up mistakes worth calling out now, before they cost you months of wasted effort.
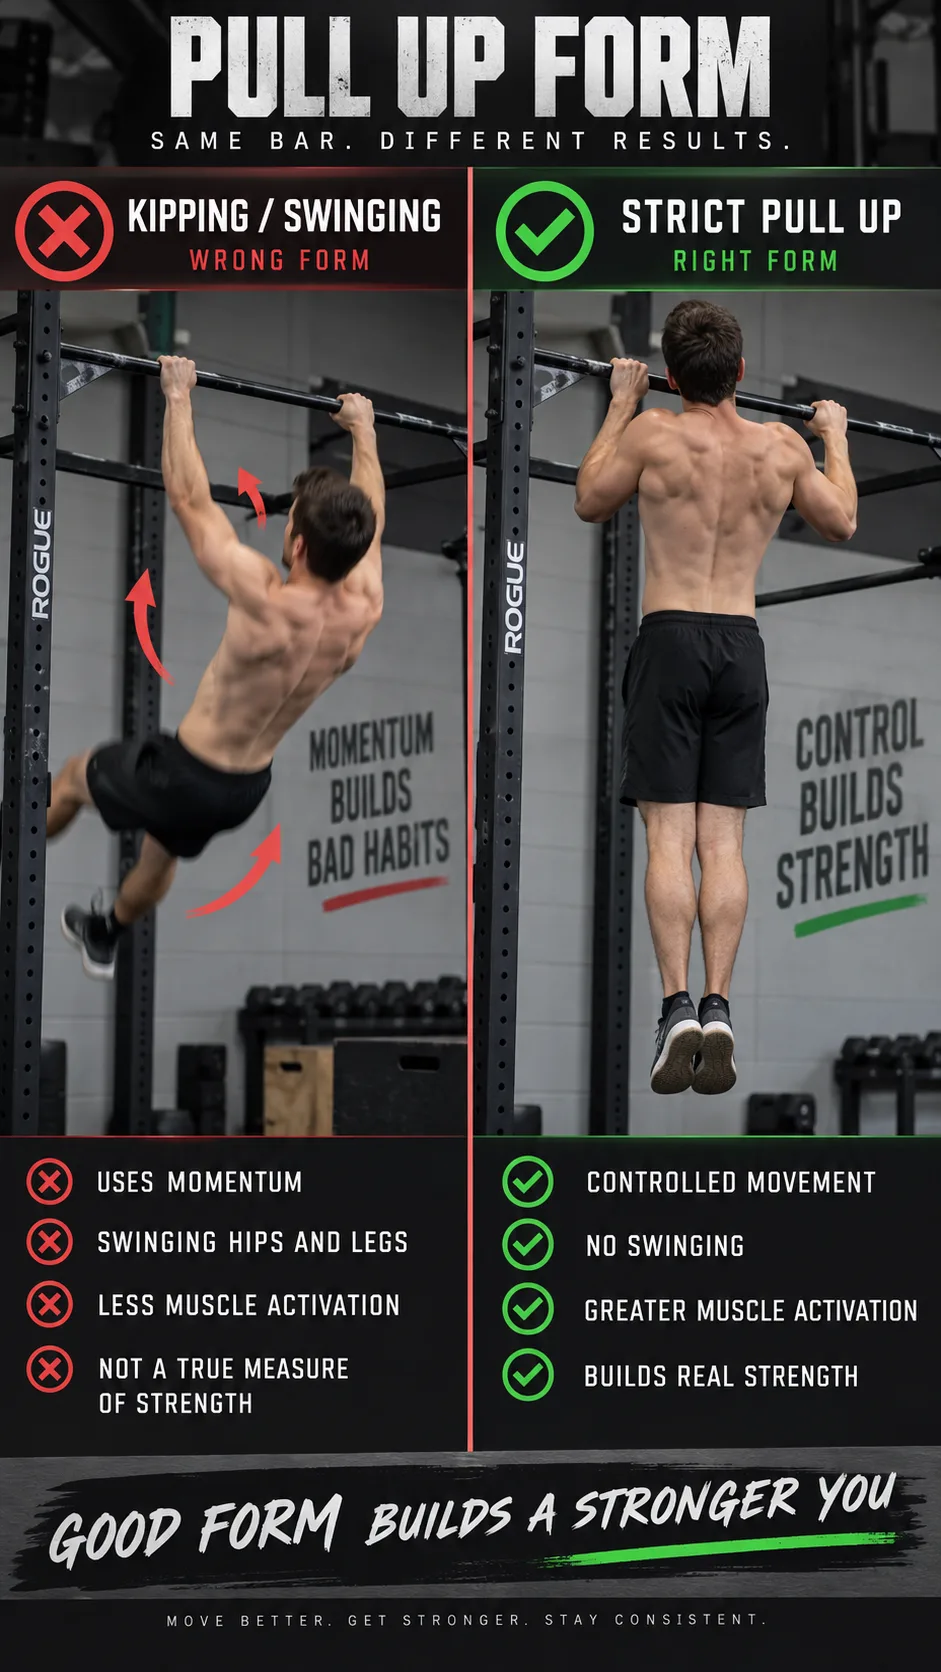
- Using momentum: Swinging and kipping looks dramatic but teaches you nothing. Build strict strength first.
- Not training your back directly: Lat pulldowns, rows, and face pulls all accelerate your pull up progress. Don’t neglect them.
- Ignoring core strength: A weak core turns every pull up attempt into a wiggling disaster. Check out these anterior pelvic tilt correction exercises to fix your core stability and posture at the same time.
- Skipping the negatives: Most beginners avoid the hard part. The negatives are the shortcut.
- Expecting overnight results: Pull ups take weeks of consistent work. That’s just the deal.
Nutrition: don’t ignore this part
Your muscles need protein to grow and recover. You can’t out-train a poor diet, especially when you’re trying to build pulling strength from scratch. Aim for 0.7-1g of protein per pound of bodyweight daily as a general target, per guidelines from Healthline.
If you struggle to hit your protein targets through food alone, these protein shakes for weight gain in Nigeria can fill the gap without breaking the bank. Good nutrition speeds up every part of your fitness progress, pull up progression included.
When to attempt your first unassisted pull up
You’re ready to try when you can hold a 45-second dead hang, complete 10 clean scapular pull ups, lower yourself through a 6-second negative with full control, and do assisted pull ups with minimal band support. Those are your green lights.
When the day comes, grip the bar, pack your shoulders down, squeeze your glutes, brace your core, and PULL. Don’t rush it. One clean, honest rep beats five sloppy ones every single time. That first successful rep is something you’ll remember for a long time.
Final thoughts: your first pull up is waiting
Getting your first pull up isn’t about being naturally strong or athletic. It’s about building the right foundation, staying consistent, and trusting the process. Dead hangs, scapular activation, inverted rows, negatives. Do the work, and the pull up comes.
Stop waiting for the “right time” or the “perfect program.” The bar is there. The plan is right here. Start today, even if all you can do is hang. That’s step one, and step one is everything.
You’ve got this. Now go grab that bar.