

You made a batch of breakfast sandwiches on Sunday. By Wednesday, you unwrapped a soggy, rubbery hockey puck that smelled vaguely of regret. Sound familiar?
I’ve been there. My first attempt at freezer breakfast sandwiches produced something so wet on the bottom and so dry on top that I genuinely wondered if I’d invented a new texture. But after roughly 200 sandwiches (yes, I counted, my freezer has seen things), I figured out exactly where people go wrong, and it’s almost never the recipe.
It’s the moisture. It’s always the moisture.
This guide walks you through the exact system I use to build breakfast sandwiches that reheat in 90 seconds and taste like you cooked them that morning. The bread stays dry, the cheese stays put, and you end up with a genuinely good sandwich on a Thursday when you’re already running late.
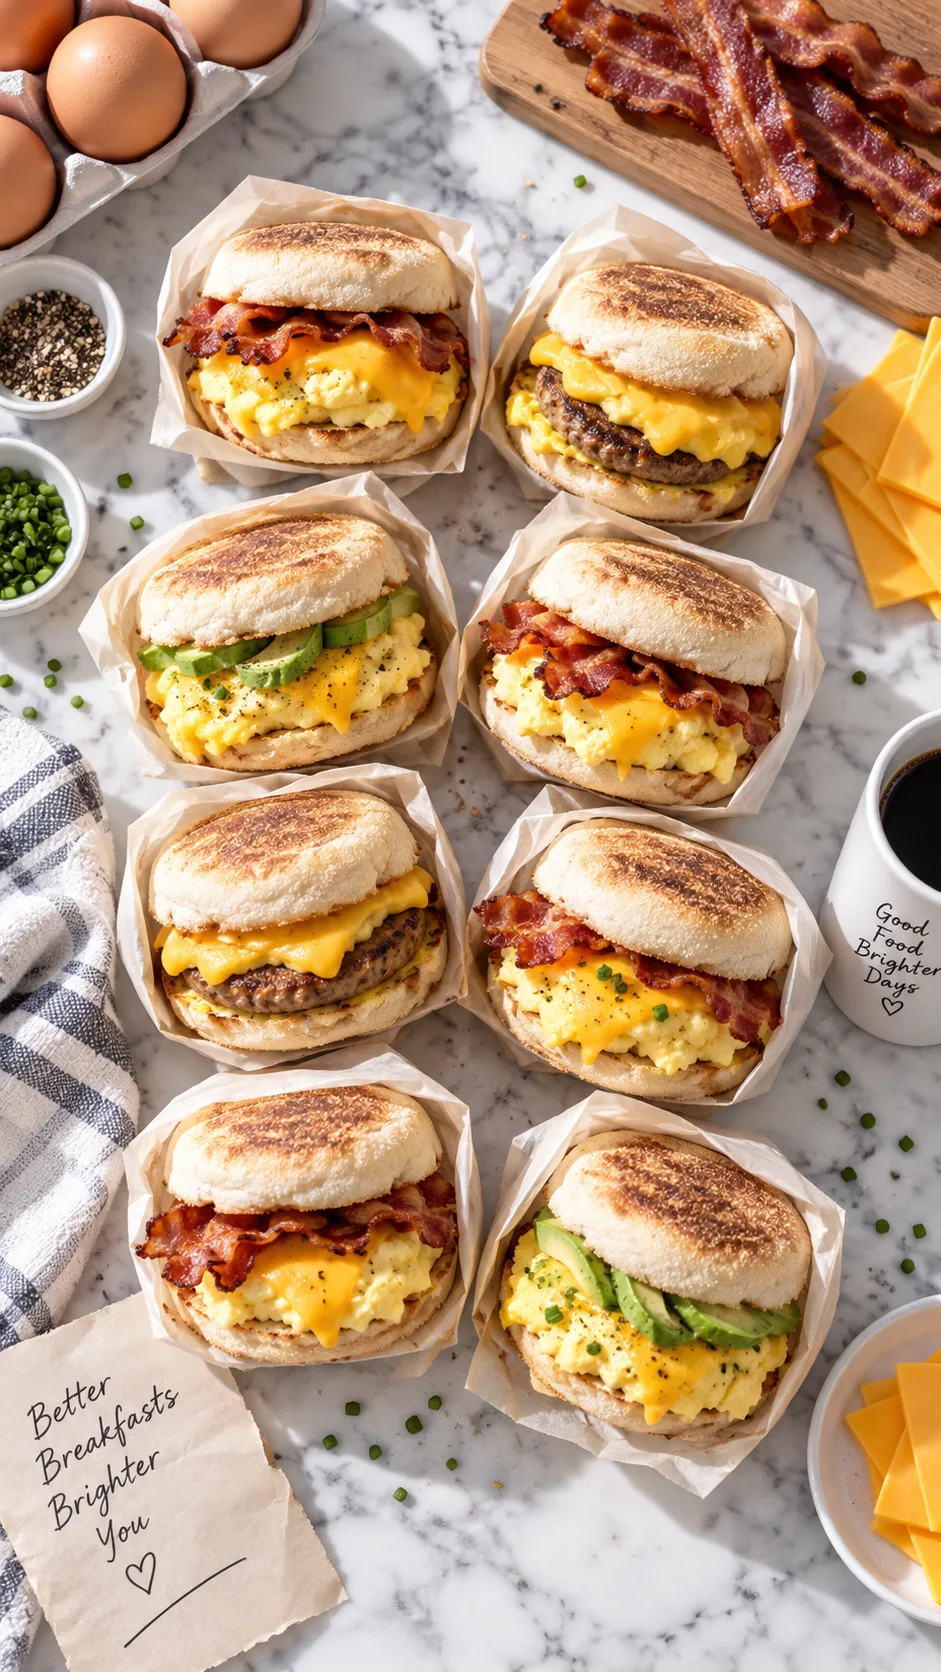
Why most meal prep breakfast sandwiches turn into sad sponges
Here’s the thing nobody tells you: a breakfast sandwich is basically a moisture bomb waiting to detonate. Eggs release water. Cheese releases oil. Sausage releases grease. Bread absorbs all of it like it’s getting paid.
When you wrap a warm sandwich and freeze it, the trapped steam has nowhere to go. It condenses, soaks into the bread, and then ice crystals form. Reheat that and you get a bready sponge with a personality crisis.
The fix isn’t a fancy recipe. It’s four things:
- Cooling completely before wrapping (non-negotiable)
- Building a moisture barrier between wet ingredients and bread
- Choosing bread that can take a beating
- Reheating with the right method, instead of nuking blindly
Get those four right and everything else is seasoning. Ever wondered why the sandwiches from fast-food drive-thrus hold up? Somebody engineered them around exactly these principles: steam control and fast reheating.
Step 1: Pick the right bread (this matters more than you think)
Bread choice separates the pros from the people posting “why is my sandwich wet” in Reddit threads at 7am.
The best options, ranked
- English muffins. The undisputed champion. Their dense, nooky crumb resists sogginess and they toast beautifully from frozen. This is my default.
- Bagels (thin-sliced). Chewy, sturdy, and they hold structure like a champ. Go thin-sliced or you’ll be chewing for a week.
- Ciabatta rolls. Great crust, airy interior. Slightly more fragile in the freezer but excellent flavor.
- Croissants. Delicious, yes. But they lose their flake after freezing. Use these for fridge-only prep (3 days max).
- Soft sandwich bread. Just don’t. It disintegrates. I learned this so you don’t have to.
The toasting rule nobody follows
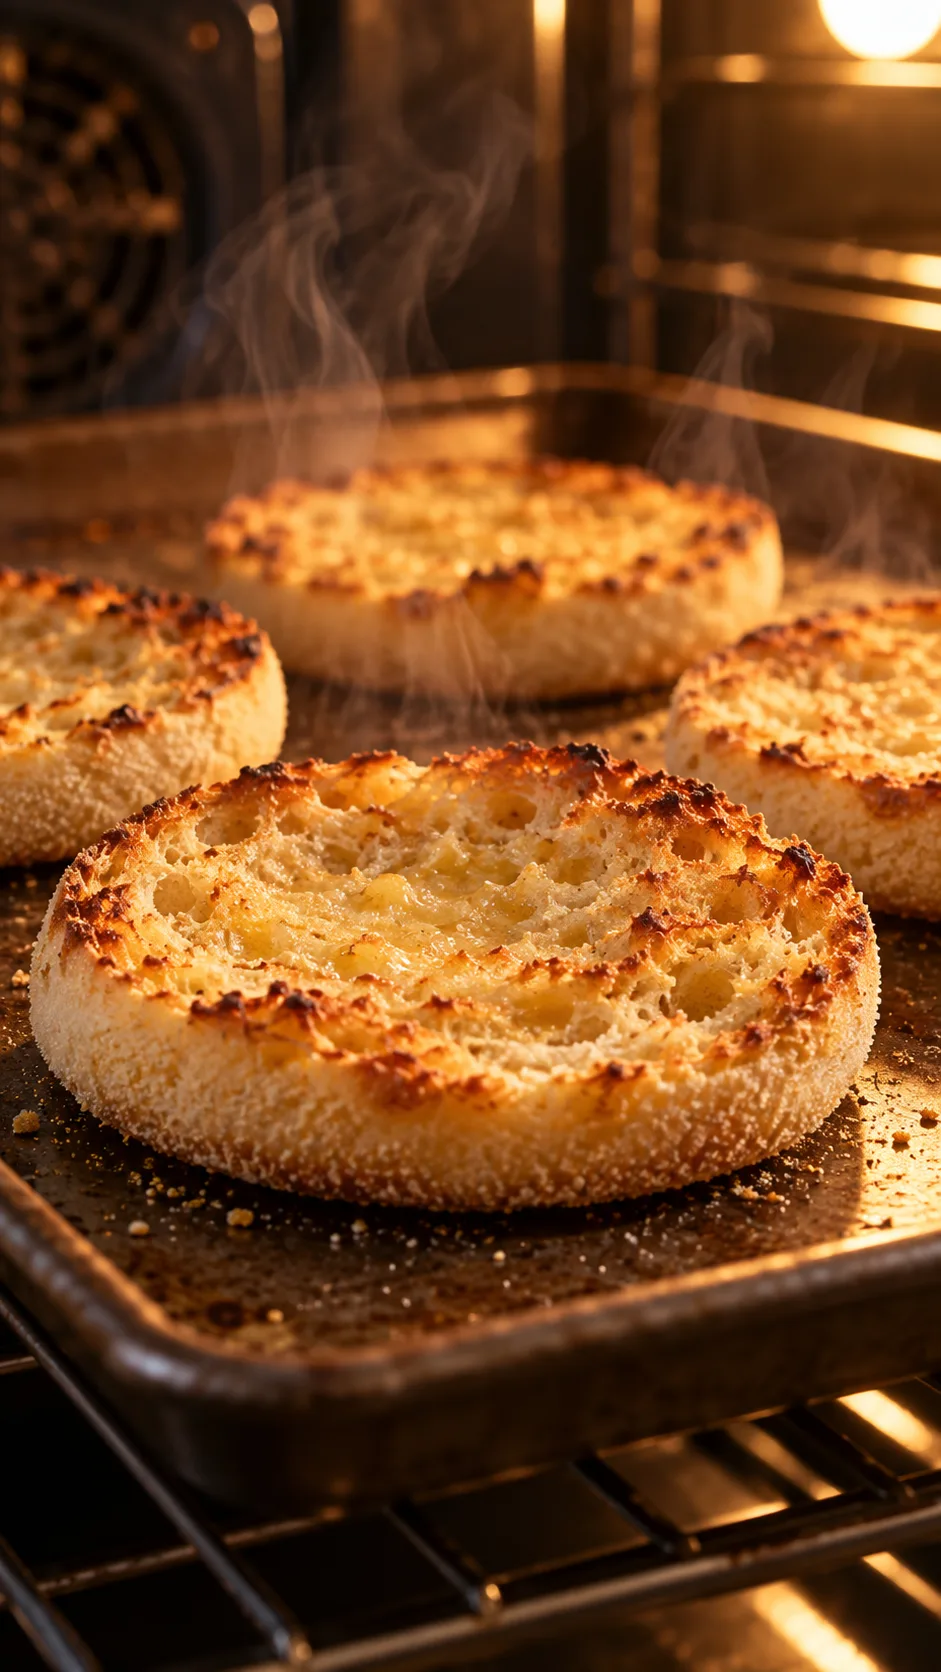
Toast your bread BEFORE assembling. Every single time.
Toasting drives off surface moisture and creates a slightly hardened crust that works as a natural barrier. You want it golden, not dark, because it’ll toast again during reheating. Skipping this step is the single most common mistake I see.
Step 2: Cook eggs the sheet pan way (not the skillet way)
Making 12 individual fried eggs is a chore and a half. Plus fried eggs weep water as they thaw. Sheet pan baked eggs solve both problems at once.
My go-to sheet pan egg method
- Preheat your oven to 350°F (175°C).
- Line a quarter sheet pan (9×13) with parchment and lightly grease it.
- Whisk 9 large eggs with ¼ cup whole milk or heavy cream, ½ tsp salt, and black pepper.
- Pour into the pan. Bake 15 to 18 minutes, until just set with no jiggle.
- Cool completely, then cut into squares or use a biscuit cutter for rounds.
Pro tip: Slightly undercook them. They’ll finish cooking during reheating, and overcooked eggs turn into that grey rubber texture we all fear.
Why add fat to your eggs?
Cream, cheese, or a spoonful of sour cream mixed into the egg base does two jobs. It keeps the eggs tender through freezing, and fat binds water, which means less free moisture leaking into your bread later. Science, but tasty.
The USDA recommends cooking eggs to an internal temperature of 160°F for safety, so use a thermometer if you’re unsure. Set eggs will read right around there.
Step 3: Build a moisture barrier (the secret weapon)
This is the trick that changed everything for me, and I’m still annoyed it took me so long to figure out.
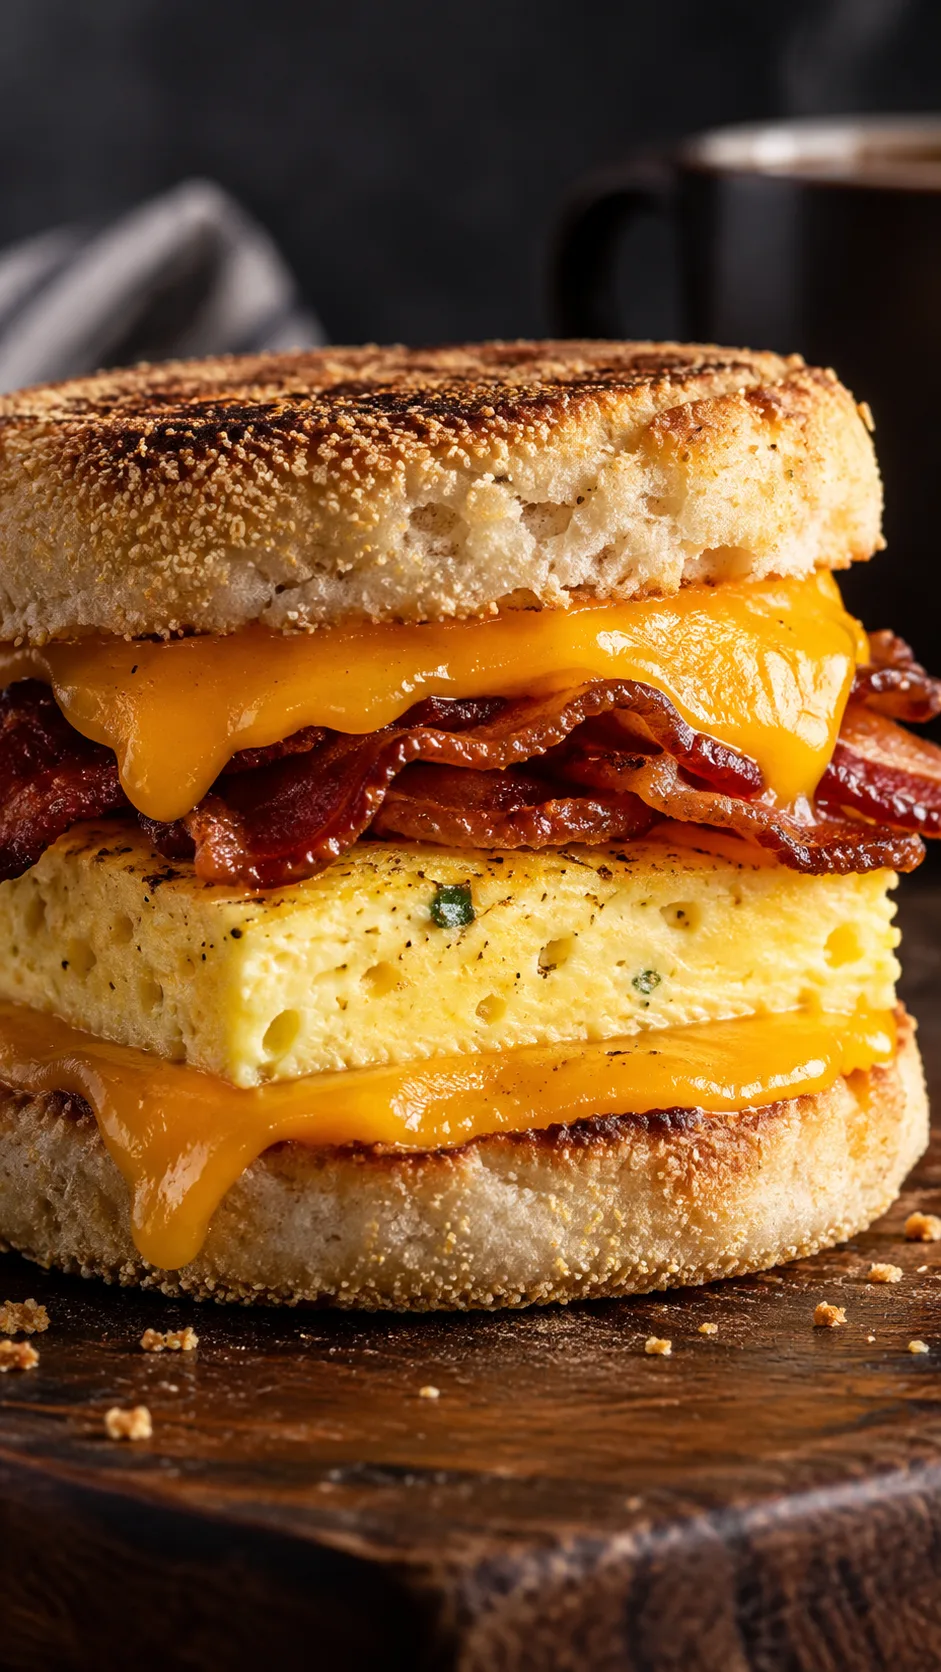
Cheese is your barrier. Place a slice of cheese directly against BOTH cut sides of the bread, with the wet stuff sandwiched in the middle. The cheese melts into a fat-based seal that water can’t easily cross.
The layering order that works
- Bottom bread (toasted, cut side up)
- Cheese slice #1
- Egg square
- Meat (bacon, sausage patty, ham)
- Cheese slice #2
- Top bread (toasted, cut side down)
Cheddar, American, provolone, and Swiss all work well. Avoid fresh mozzarella. It holds way too much water and will actively sabotage you. Feta and goat cheese crumble weirdly after freezing too.
Another option if you’re anti-cheese: a thin swipe of butter or mayo on the cut sides of the bread. Fat is fat, and it does the same waterproofing job. IMO a bit of mayo on a breakfast sandwich is criminally underrated.
Step 4: Choose proteins that freeze well
Not all breakfast meats survive the freezer with dignity intact. Here’s the honest breakdown from my own trial and error.
Freezes great
- Bacon. Cook it crisp, drain it HARD on paper towels. Excess grease is your enemy.
- Sausage patties. Pre-cooked and blotted, these are nearly bulletproof.
- Canadian bacon and ham. Low fat, low moisture, reheats perfectly.
- Turkey sausage. Leaner and holds texture well. Great if you’re watching calories.
Freezes poorly
- Fresh tomato slices. They turn to mush. Add fresh on serving day if you must.
- Avocado. Goes brown and grainy. Same rule, add it fresh.
- Raw spinach. Weeps water. Sauté and squeeze it dry first, or skip it.
- Anything with sauce. Hot sauce, ketchup, salsa. Pack separately. Trust me. :/
If you’re going plant-based, veggie sausage patties hold up shockingly well. Sautéed mushrooms work too, as long as you cook out the water first. For more plant-forward ideas, my vegetarian meal prep guide covers the batch-cooking basics that translate perfectly to breakfast.
Step 5: Cool. Completely. I’m serious.
I’m putting this in its own section because people rush it and then blame the recipe.
Every component must reach room temperature before you wrap anything. Warm food plus wrapper equals trapped steam, which equals condensation, which equals soggy bread. There’s no workaround and no clever hack.
Spread your cooked eggs, meat, and toasted bread on wire racks. Give them 20 to 30 minutes. Go answer some emails. Walk the dog. Stare into the middle distance contemplating your life choices. Whatever works.
Want to speed it up? Pop the cooked components in the fridge (uncovered) for 15 minutes. That chills them fast without trapping steam.
Step 6: Wrap like you mean it
Wrapping technique is where a lot of prep falls apart. Here’s my two-layer system.
The double-wrap method
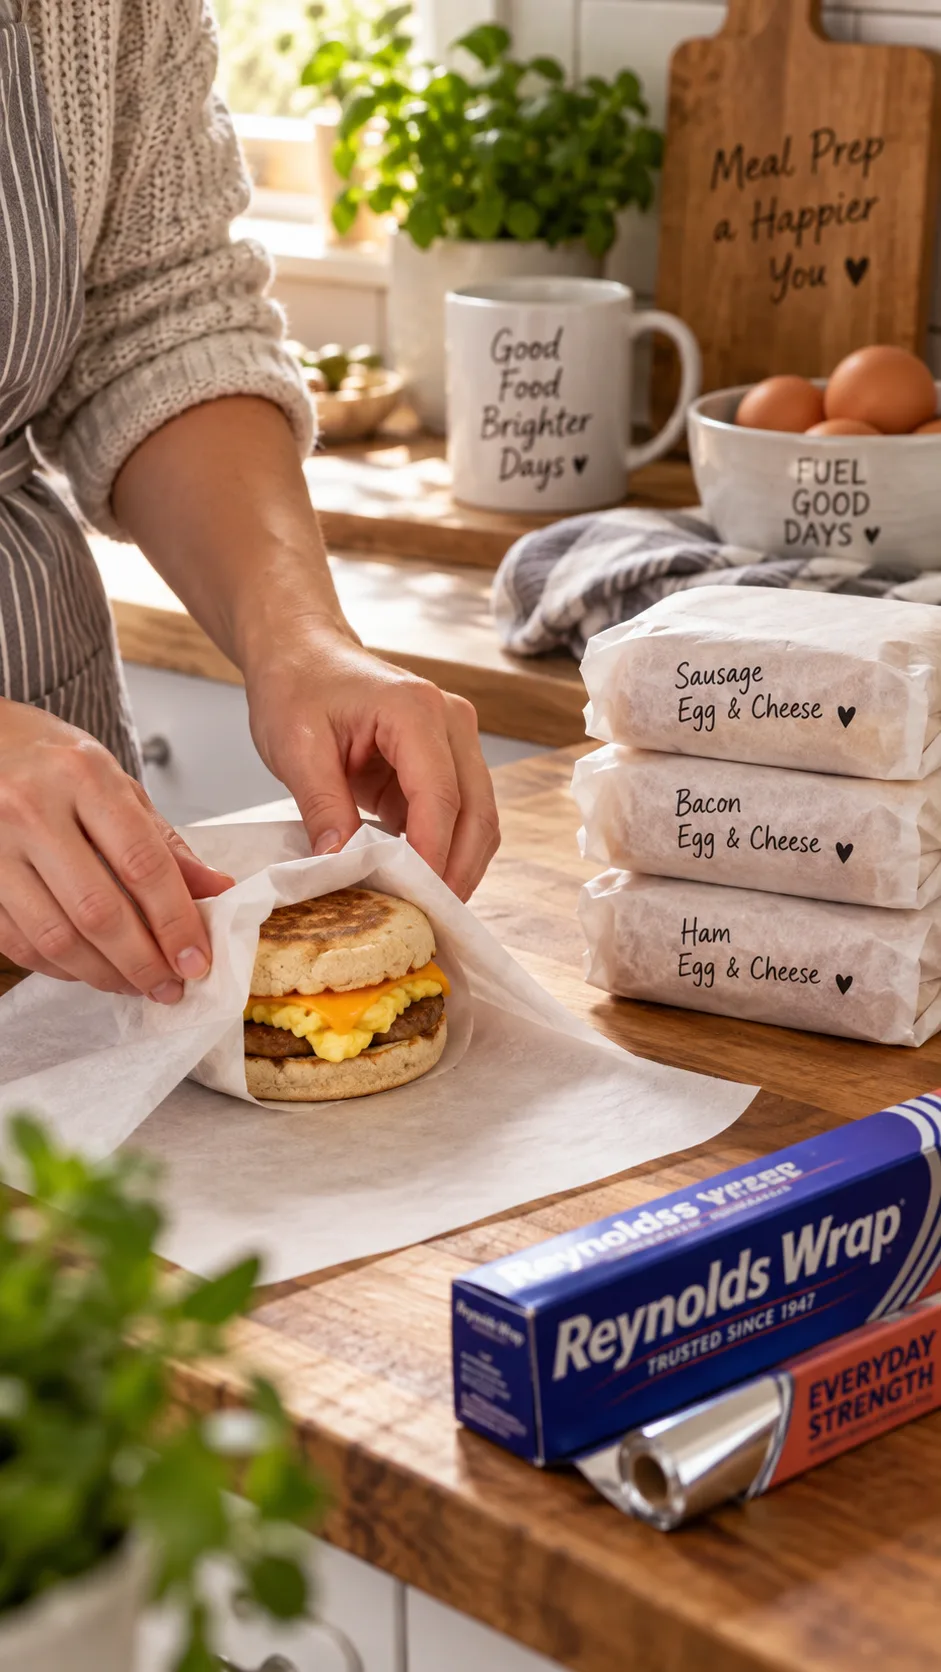
- Layer one: parchment paper. Wrap each sandwich snugly. Parchment breathes slightly and won’t trap condensation against the bread the way plastic does.
- Layer two: aluminum foil or a freezer bag. This blocks air and prevents freezer burn.
- Label everything. Date and contents. Future you will not remember which ones have sausage.
- Press out excess air if you’re using bags. Air causes those nasty ice crystals.
Plastic wrap directly on bread is a mistake. It creates a humidity chamber. Parchment first, always.
How long do they last?
- Fridge: 3 to 4 days at peak quality
- Freezer: Up to 3 months, though I find weeks 1 through 6 are the sweet spot
The FoodSafety.gov cold storage guidelines back these timeframes up for cooked egg dishes and cooked meats. After three months they’re still safe, they just start tasting like the freezer.
Step 7: Reheating, where good sandwiches go to die
You did everything right. Then you microwaved it on high for three minutes and turned it into a molten brick. Let’s fix that.
Method 1: Microwave (fastest, 90 seconds)
- Remove ALL foil. Yes, all of it. Keep the parchment on.
- Microwave at 50% power for 60 to 90 seconds to thaw gently.
- Then full power for 30 to 45 seconds to heat through.
- Let it rest 1 minute. The heat evens out and the bread firms up.
The two-stage power trick is everything here. Blasting a frozen sandwich on high cooks the outside while the center stays icy, and the steam has nowhere to go but into your bread.
Method 2: Air fryer (best texture, 8 minutes)
Unwrap completely, wrap loosely in foil, air fry at 320°F for 6 minutes. Then unwrap the foil and go 2 more minutes at 380°F to crisp the outside. This gives you the best result by a wide margin. It also takes eight minutes, which on a Tuesday morning feels like a geological era.
Method 3: Oven (best for batches)
Foil-wrapped at 350°F for 20 to 25 minutes from frozen. Perfect if you’re feeding a household. Unwrap for the final 3 minutes for a crispier finish.
Method 4: The hybrid (my personal favorite)
Microwave at 50% power for 60 seconds to thaw, then 2 minutes in the toaster oven or air fryer. You get speed and texture. FYI this is what I do most mornings and it takes about three minutes door to door.
Five breakfast sandwich combos worth prepping
- The Classic: English muffin, sharp cheddar, baked egg, crispy bacon. Never fails.
- The Southwest: Bagel thin, pepper jack, egg with sautéed peppers and onions, chorizo. Pack salsa separately.
- The Green Machine: Whole wheat muffin, Swiss, egg with squeezed-dry spinach, turkey sausage. About 22g protein per sandwich.
- The Maple Sunrise: Ciabatta, gouda, egg, maple pork sausage. The sweet-savory thing genuinely works.
- The Low-Carb: Swap bread for two chaffles or a folded egg wrap. Pairs nicely with the approach in my low carb meal prep guide.
The one-hour Sunday batch plan
Here’s how I knock out 12 sandwiches in about 60 minutes without losing my mind.
- 0:00 to 0:05. Preheat oven to 350°F. Get two sheet pans ready.
- 0:05 to 0:15. Bacon or sausage on pan one, into the oven. Whisk the egg mixture.
- 0:15 to 0:35. Eggs on pan two, into the oven. Split and toast all the muffins in batches.
- 0:35 to 0:45. Pull everything out. Drain meat on paper towels. Cool on wire racks.
- 0:45 to 0:55. Assembly line: bread, cheese, egg, meat, cheese, bread. Twelve at once.
- 0:55 to 1:00. Wrap, label, freeze.
That’s roughly five minutes per sandwich of active time, and you never think about breakfast again all week. Compare that to standing in a coffee shop line at 7:40am. No contest.
If batch cooking is new to you, the workflow in my easy meal prep guide scales this same assembly-line logic across lunches and dinners too.
Troubleshooting: common problems and real fixes
“My bread is still soggy.”
You either wrapped it warm or skipped the cheese barrier. Also check your bacon. If you didn’t blot it properly, that grease goes straight into the bread. Blot aggressively.
“My eggs are rubbery.”
You overcooked them, reheated too hot, or both. Pull eggs when they’re just barely set and use the 50% power microwave stage. Adding cream to the egg base helps a lot here.
“The edges are frozen but the middle is lava.”
Classic microwave uneven heating. Thaw at low power first, and always let it rest for a minute after heating. That rest period is when the temperature equalizes.
“It tastes like the freezer.”
Freezer burn from air exposure. Double-wrap tighter, push out the air, and eat them within six weeks. A deep freezer helps more than the little compartment in your fridge.
Quick nutrition reality check
A standard bacon-egg-cheese English muffin runs roughly 350 to 420 calories with 20 to 24g of protein, depending on your cheese and meat. That’s a genuinely solid breakfast, and the Academy of Nutrition and Dietetics notes that protein at breakfast supports satiety through the morning.
Easy upgrades:
- Swap to whole grain English muffins for +4g fiber
- Use turkey sausage instead of pork to cut roughly 60 calories
- Add an extra egg white to the base for +4g protein at basically zero cost
Want to push the protein higher across your whole week? My high protein meal prep recipes use the same principles applied to lunch and dinner.
The bottom line
Making breakfast sandwiches that still taste fresh on Friday isn’t about some secret recipe. You just have to control moisture at every single step.
Remember the five rules:
- Toast the bread before assembly, always
- Build a cheese or fat barrier against both bread surfaces
- Cool everything completely before wrapping
- Double-wrap with parchment first, foil second
- Reheat in two stages: low power, then high
Follow those and your Thursday sandwich tastes like your Sunday sandwich. That’s the whole game.
Start with six this weekend. Just six. Use the classic combo, keep it simple, and see how they hold up. Once you taste a properly prepped breakfast sandwich at 7am on a Wednesday, hot and crisp and genuinely good, you’ll never go back to grabbing a sad granola bar on the way out the door. 🙂