

Picture this: It hits 12:30 PM on a Tuesday. Your stomach growls, your energy drops, and you remember the sad, limp ham sandwich waiting in the office fridge. You open the breakroom door, stare into the fluorescent chill, and immediately contemplate spending twenty dollars on greasy takeout instead.
I lived that exact routine for years. Brown-bag fatigue destroys healthy eating goals faster than almost anything else. You start the week with good intentions, but boring food crushes your willpower by Wednesday afternoon.
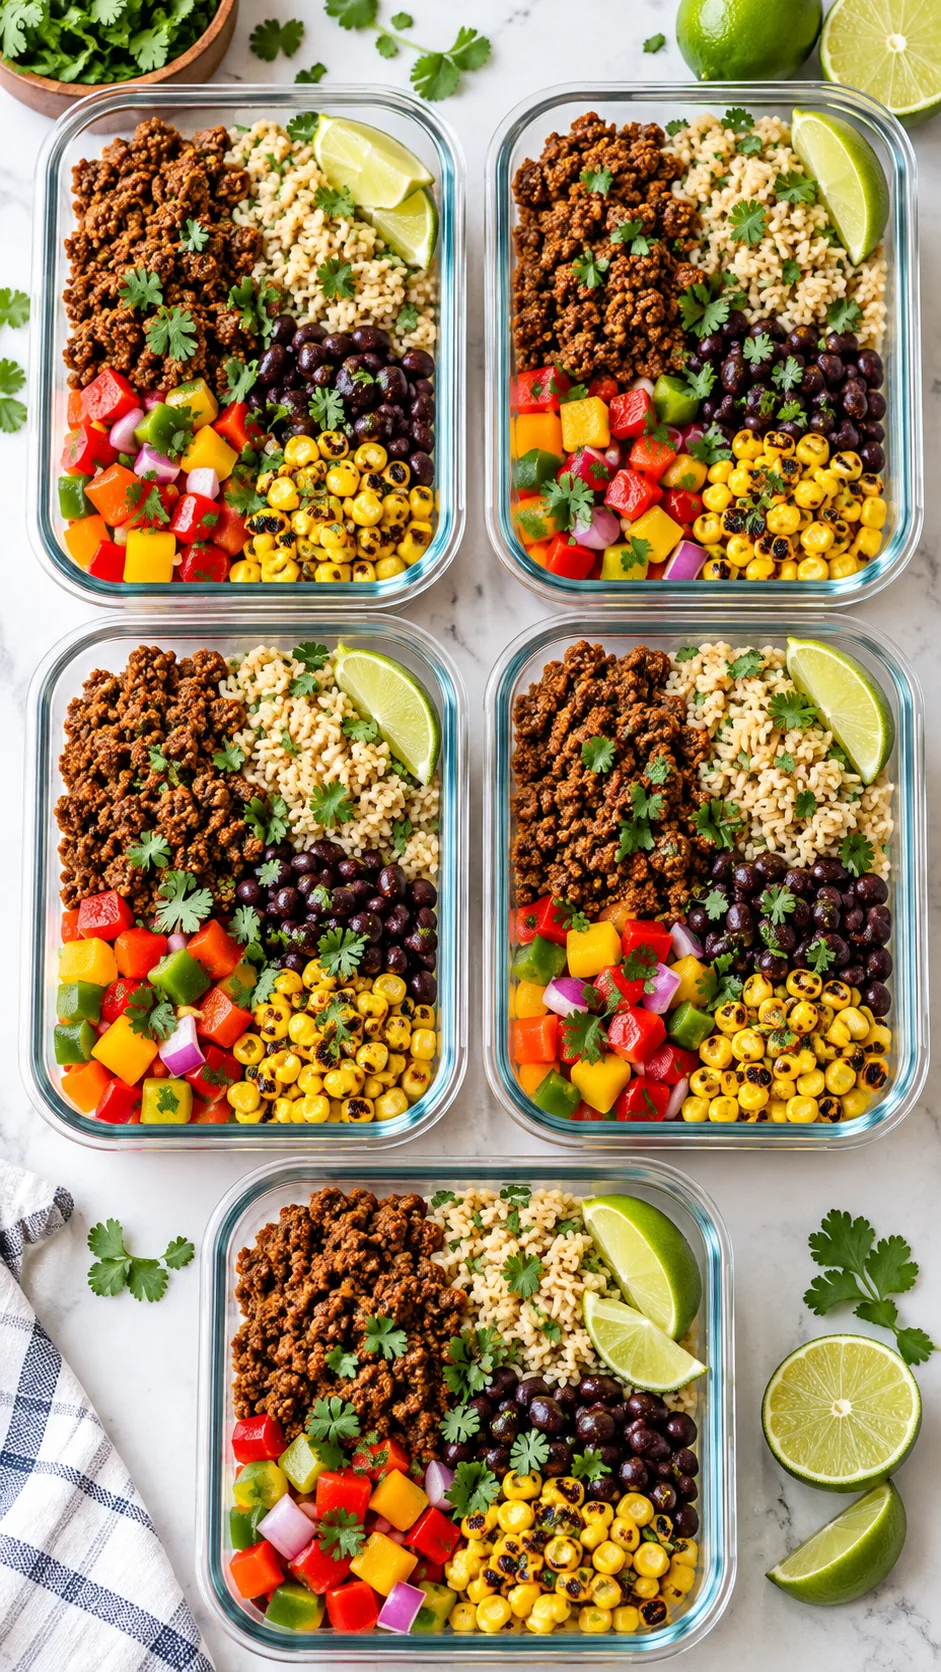
Enter a better solution for desk dining: homemade taco bowl meal prep. A properly built taco bowl delivers bold spices, contrasting textures, bright colors, and customizable toppings. Best of all, you assemble everything in roughly forty-five minutes on Sunday, setting yourself up for an entire week of satisfying midday meals.
If you already use our lunch meal prep for the week systems, this blueprint will expand your routine. Say goodbye to soggy lettuce and dry chicken breast forever.
Why Taco Bowls Beat Desk Lunch Boredom
Why do taco bowls work better than standard meal prep? The secret lies in modular assembly. Traditional casseroles or stews lock you into one single flavor profile Monday through Friday. By Thursday, every bite tastes predictable and dull.
Taco bowls work differently. They give you a sturdy base of grains and protein alongside separate toppings. You swap the salsa, add pickled jalapeños, crumble fresh cotija, or switch up the sauce each morning. You eat the same base prep while enjoying a completely fresh meal every day.
Taco bowls also deliver balanced nutrition without tasting like diet food. You get complex carbohydrates from beans and rice, lean protein, and dietary fiber. Research from the Harvard T.H. Chan School of Public Health shows that high-fiber legumes support steady blood sugar levels and keep your digestive system running smoothly. You stay full, alert, and free from the afternoon sugar crash.
If you need extra fuel for heavy workouts, pair these strategies with our high protein lunch meal prep ideas to increase your daily intake.
The Mix-and-Match Architecture: Building the Perfect Bowl
A poorly constructed taco bowl turns into a pile of warm mush. A well-built taco bowl balances hot and cold elements, crunchy bites, and rich flavors with bright citrus. Follow this five-layer structural formula to guarantee great results every time.
1. The Foundation: Smart Grains and Greens
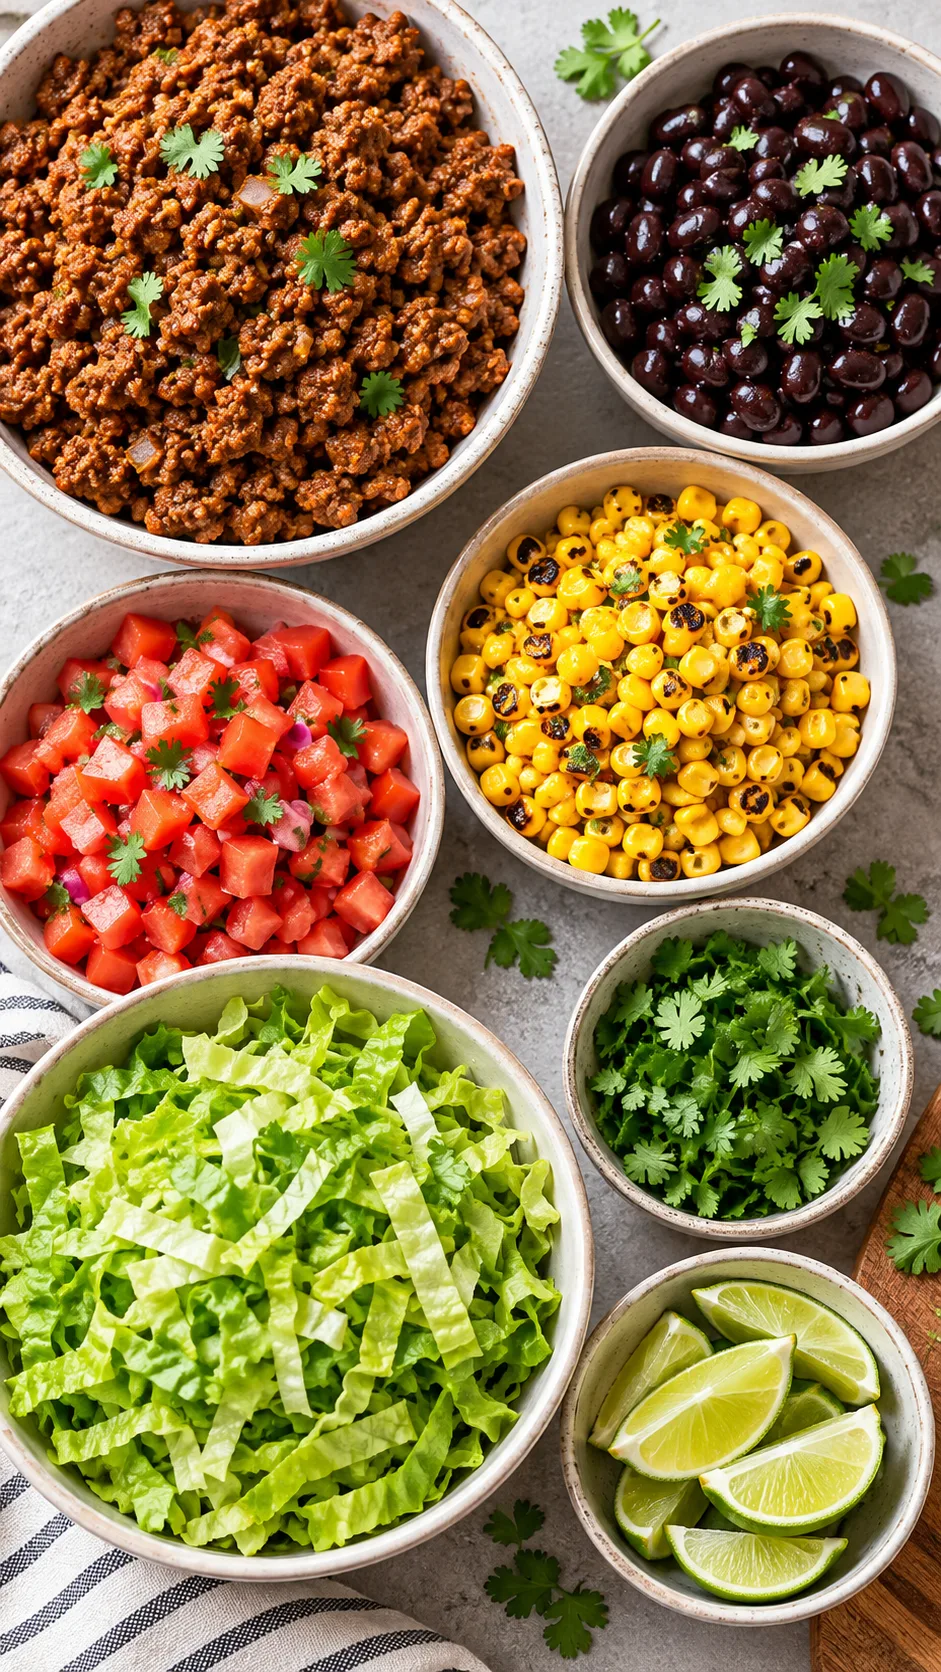
Skip plain white rice. It turns gummy in the fridge and digests too quickly. Build your base on hearty foundations that hold their texture all week:
- Cilantro-Lime Brown Rice: Toss warm brown rice with minced cilantro, sea salt, and fresh lime juice. The brown rice retains a nutty chew for five days.
- Seasoned Quinoa: Simmer quinoa in low-sodium broth with ground cumin and garlic powder.
- Cauliflower Rice Blend: Sauté riced cauliflower in olive oil until the moisture evaporates, then fold it evenly into cooked rice to cut calories while keeping a hearty texture.
- Sturdy Greens: Lay down a bed of chopped romaine hearts or shredded green cabbage if you prefer a crisp, low-carb base.
2. The Core: Highly Seasoned Proteins
Bland meat ruins the entire meal. Coat your protein in an assertive spice blend of chili powder, ground cumin, smoked paprika, Mexican oregano, garlic powder, onion powder, and cayenne pepper. Choose your favorite lean option:
- Extra-Lean Ground Beef (93/7): Brown the meat in a cast-iron skillet to develop deep, savory flavors before simmering it with tomato paste and broth.
- Slow-Cooker Salsa Verde Chicken: Cook boneless chicken breasts in tangy tomatillo salsa until tender, then shred the meat with two forks.
- Citrus-Marinated Flank Steak: Sear thin strips of steak over high heat for a restaurant-style finish.
- Spiced Black and Pinto Beans: Simmer whole canned beans with minced chipotle peppers in adobo for a hearty vegetarian base.
3. The Contrast: Blistered and Pickled Veggies
Raw vegetables release water during storage and turn grains soggy. Cook your vegetables first to remove excess moisture and bring out their natural sweetness:
- Fajita Peppers and Onions: Slice bell peppers and red onions into thick strips. Blister them in a hot skillet until they develop charred edges while staying crisp.
- Charred Street Corn: Toast sweet corn kernels in a dry skillet with smoked paprika and lime juice until they brown.
- Quick-Pickled Red Onions: Steep thinly sliced onions in warm apple cider vinegar with salt and honey. Their sharp acidity cuts through rich meats.
4. The Crunch Factor
Texture makes or breaks a meal prep bowl. Soft food with no contrast gets unappealing fast. Pack these crunchy toppings in separate small bags and sprinkle them on right before lunch:
- Crushed artisan tortilla chips
- Roasted salted pumpkin seeds
- Thinly sliced red radishes
- Crispy fried jalapeño strips
5. The Rich Finishes: Sauces and Creams
A good sauce ties every ingredient together. Skip store-bought bottles that rely on corn syrup and preservatives. Whisk plain Greek yogurt with fresh lime juice, minced garlic, and chopped chipotle peppers for a spicy crema that adds protein and richness without heavy calories.
The Master Taco Bowl Recipe (Step-by-Step)
You can prepare five complete meals in under an hour. This master formula uses lean ground beef and black beans, balancing quick prep time, low ingredient costs, and high-quality flavor.
Ingredients List (Makes 5 Generous Servings)
- Ground Beef: 1.5 lbs extra-lean ground beef (90/10 or 93/7)
- Beans: 1 can (15 oz) black beans, rinsed and drained
- Rice: 1.5 cups dry long-grain brown rice (makes about 4.5 cups cooked)
- Produce: 2 bell peppers, 1 large red onion, 2 fresh limes, 1 bunch fresh cilantro
- Corn: 1.5 cups frozen sweet corn
- Spice Mix: 2 tbsp chili powder, 1 tbsp ground cumin, 1 tsp smoked paprika, 1 tsp garlic powder, 1 tsp onion powder, 1 tsp dried oregano, 1 tsp sea salt, 1/2 tsp black pepper
- Liquid Base: 2 tbsp tomato paste plus 1/2 cup low-sodium beef broth
- Sauce: 1 cup plain non-fat Greek yogurt, 1 juiced lime, 1 tbsp adobo sauce from canned chipotles, pinch of salt
Execution Protocol
- Cook the Rice: Rinse the brown rice under cold water until the water runs clear. Cook the grains in a rice cooker or covered saucepan according to package directions. Fluff the cooked rice with a fork, then fold in 1/2 cup finely chopped cilantro, the juice of one lime, and a pinch of salt.
- Char the Veggies: Heat a wide skillet over high heat with a splash of avocado oil. Add the sliced bell peppers and half of the sliced red onion. Sear the vegetables for 5 to 6 minutes until blackened spots appear. Transfer them to a plate. In the same hot pan, toss the frozen corn kernels for about 4 minutes until toasted. Set the corn aside.
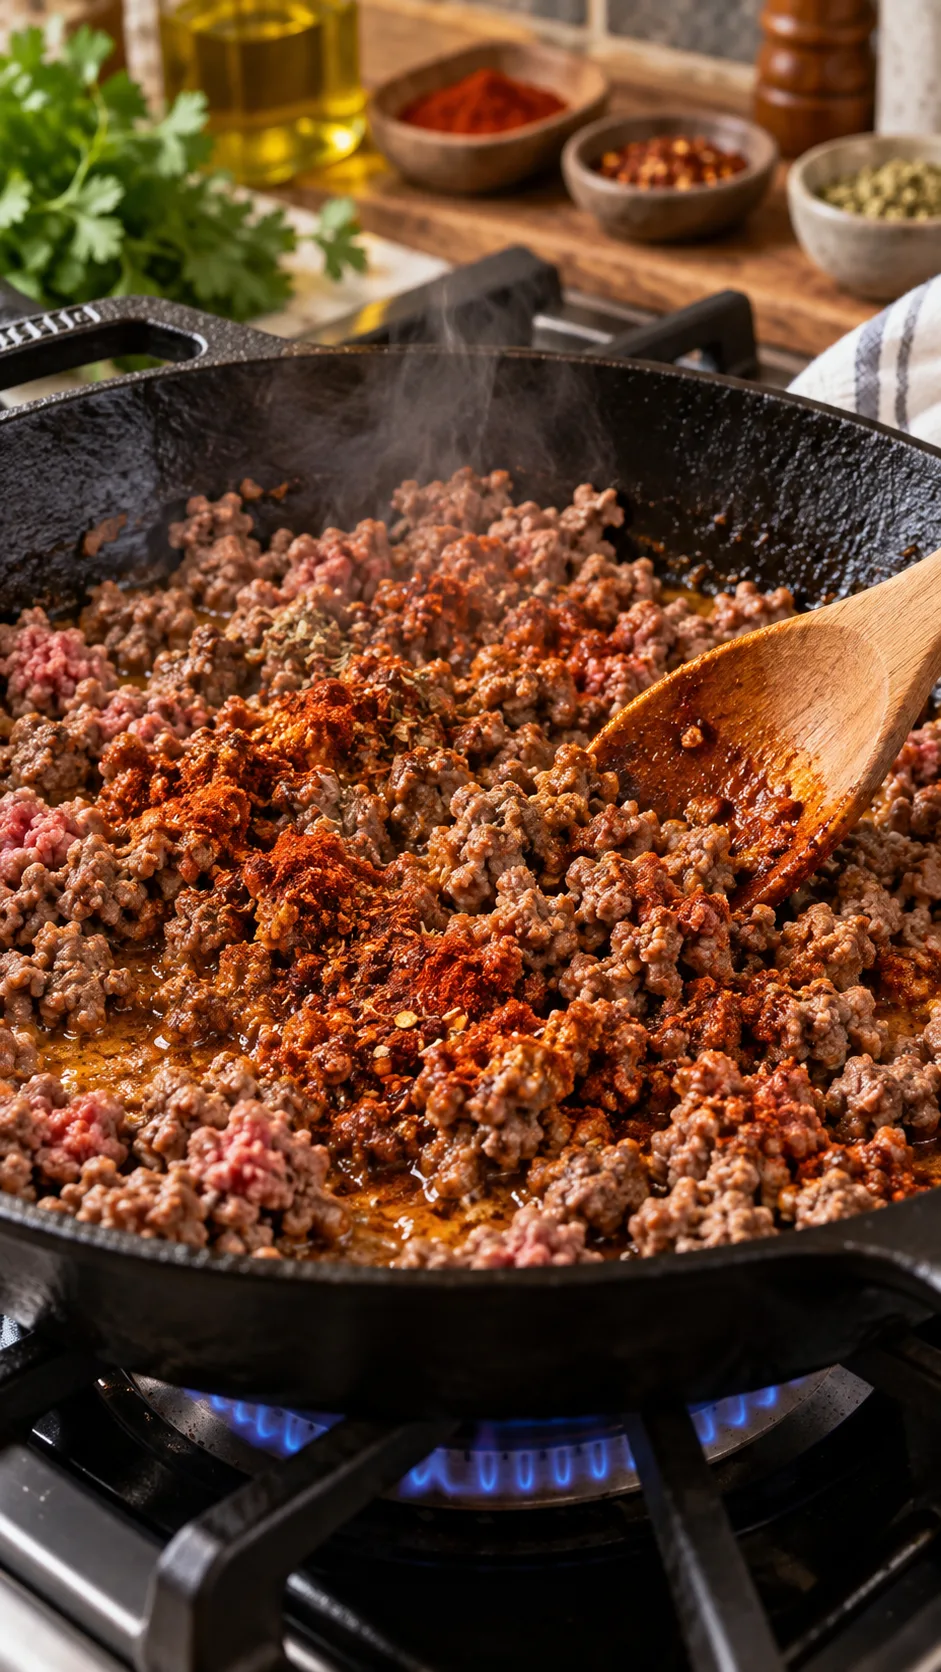
- Brown the Beef: Lower the heat to medium-high. Add the ground beef to the pan, breaking it into small bits with a spatula. Cook the meat for 6 to 7 minutes until no pink remains. Drain any excess liquid from the pan.
- Bloom the Spices: Stir your spice blend and tomato paste directly into the meat. Cook for 60 seconds until fragrant. Pour in the beef broth and fold in the black beans. Simmer for 3 to 4 minutes until the liquid reduces into a thick sauce that coats the beef and beans.
- Whisk the Crema: In a small bowl, whisk the Greek yogurt, chipotle adobo sauce, lime juice, and a pinch of salt until smooth.
- Cool the Ingredients: Let all cooked ingredients cool to room temperature before assembling your containers. Packing hot food traps steam inside the container, producing condensation that turns your bowls watery by mid-week.
The Anti-Soggy Strategy: How to Pack Like a Pro
Opening a meal prep container to find watery liquid sitting at the bottom ruins lunch immediately. That happens when steam and wet vegetables pool during storage. You can prevent this with deliberate container management.
First, use borosilicate glass containers with snap-locking lids. Glass resists food stains and odors from strong spices like cumin and chili powder. Glass also distributes microwave heat evenly without leaching unwanted chemicals into your food.
Second, follow the Zonal Separation Rule:
Spread the cilantro-lime brown rice evenly across the bottom of the container. Place your seasoned beef and black beans across one half of the top. Spoon your charred peppers, onions, and corn across the other half. This arrangement groups your reheatable items together while keeping individual flavors distinct.
Third, keep wet and cold toppings completely out of the main container during storage. Spooning cold salsa or raw avocado onto warm rice before chilling ruins the texture of both items. Store cold toppings in dedicated containers:
- Small Dressing Cups: Pour your chipotle crema, salsa verde, or sour cream into two-ounce silicone or stainless-steel condiment cups.
- Snack Bags: Keep fresh cilantro leaves, diced raw onions, and crunchy tortilla chips in small reusable bags.
- Whole Produce: Pack whole limes and avocados in your lunch bag. Slice them at your desk right before you eat. Fresh lime juice brightens cold food instantly.
To speed up your cooking routine, check our healthy meal prep guide for batch-cooking methods that save time on weekends.
Five Flavor Variations So You Never Get Bored
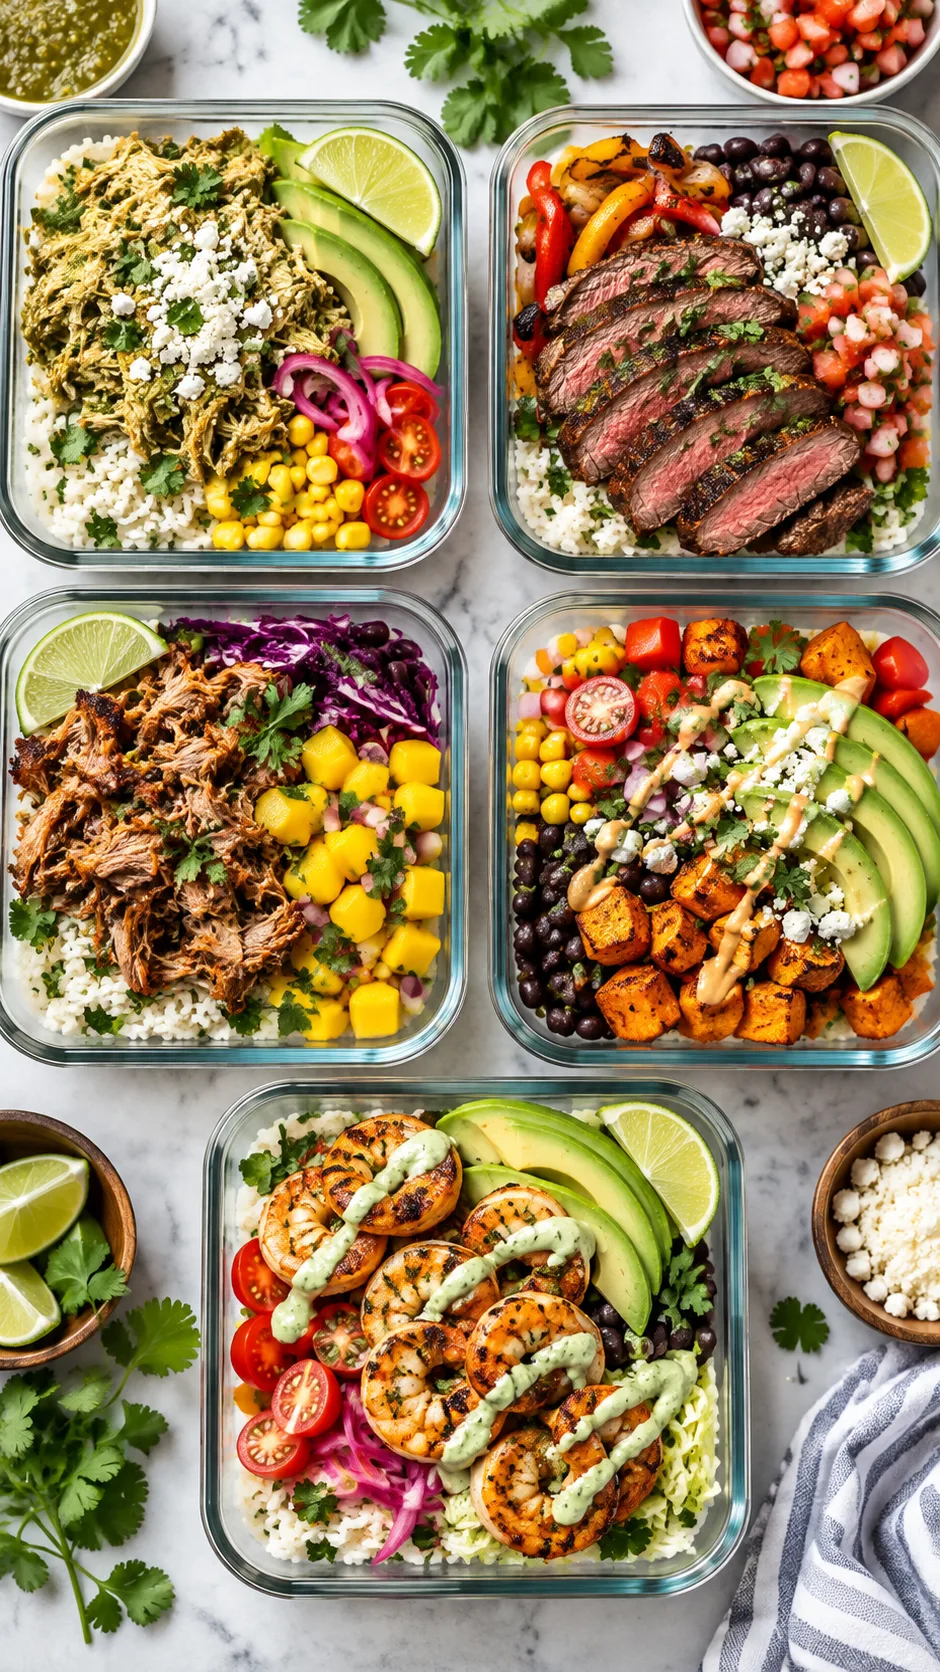
You do not need to stick to standard ground beef every single week. You can rotate through different regional flavor profiles while using this exact prep layout. Try these five variations during your next meal prep cycle.
1. Salsa Verde Shredded Chicken Bowl
Use chicken breast instead of ground beef. Place two pounds of chicken breasts into your slow cooker with a jar of roasted salsa verde, two crushed garlic cloves, and a teaspoon of ground cumin. Cook on low for six hours. Shred the chicken directly in the juices. Pair the meat with white rice, pinto beans, and pickled jalapeños.
2. Fiery Citrus Mojo Steak Bowl
Marinate flank steak or skirt steak in orange juice, lime juice, minced garlic, cumin, and fresh cilantro for two hours. Sear the meat in a cast-iron skillet for three minutes per side over high heat. Let the steak rest before slicing it thinly across the grain. Serve the steak over quinoa alongside roasted zucchini and chimichurri sauce.
3. Slow-Cooker Crispy Carnitas and Mango Slaw
Season a lean pork tenderloin or pork shoulder with chili powder, oregano, and cinnamon. Braise the pork slowly with orange peel and onions until tender. Crisp the shredded pork under your oven broiler for four minutes to create crunchy edges. Top your bowl with a crisp slaw made from shredded cabbage, diced mango, and lime juice for a sweet and savory contrast.
4. Plant-Powered Roasted Sweet Potato and Poblano
Make a hearty vegetarian bowl without processed meat substitutes. Dice two large sweet potatoes into small cubes. Toss them with olive oil, smoked paprika, chili powder, and sea salt. Roast the cubes on a sheet pan at 400°F (205°C) alongside diced poblano peppers for 25 minutes until tender. Combine these roasted vegetables with seasoned black beans, charred corn, and a creamy cashew-lime dressing.
5. Garlic Lime Shrimp Fajita Bowl
Shrimp cooks faster than red meat or poultry. Toss peeled jumbo shrimp with olive oil, minced garlic, chili powder, and lime zest. Sear the shrimp in a hot pan for ninety seconds per side. Cooked shrimp stays fresh in the fridge for only three days, so pack shrimp bowls for Monday through Wednesday, then prepare chicken or beef for Thursday and Friday.
Food Safety, Storage, and Reheating Protocols
Keep your meal prep safe by following basic food handling steps throughout the week.
Guidelines from the USDA Food Safety and Inspection Service state that you should store cooked ground beef, poultry, and grains at or below 40°F (4°C) for up to three or four days. If you plan to eat your meals through Friday, place your Thursday and Friday containers into the freezer on Sunday afternoon. Move them down to the refrigerator on Wednesday night to thaw safely.
| Component | Fridge Life (at ≤ 40°F) | Freezer Friendly? | Best Reheating Method |
|---|---|---|---|
| Seasoned Ground Beef | 4 Days | Yes (Up to 3 months) | Microwave on high, 90 seconds |
| Shredded Chicken Breast | 4 Days | Yes (Up to 3 months) | Microwave with 1 tsp water |
| Cooked Brown Rice / Quinoa | 5 Days | Yes (Excellent) | Cover with damp paper towel |
| Cooked Black / Pinto Beans | 5 Days | Yes (Excellent) | Microwave with grains and meat |
| Chipotle Crema (Yogurt Base) | 5-7 Days | No (Will separate) | Serve chilled; do not heat |
The Desk Reheating Routine
To avoid dry meat when reheating your lunch, use a paper towel. Remove your cold sauce cups and fresh garnishes from the container. Cover the base bowl with a damp paper towel before running the microwave. The moist towel creates steam, warms the rice evenly, and prevents sauce splatters.
Heat your bowl on 80% power for two minutes instead of running it on full power for sixty seconds. Medium heat warms your beef and chicken without drying them out. Once warm, add your cold toppings, squeeze fresh lime juice over the dish, and eat.
Budget Breakdown: Meal Prep vs. Fast-Casual Burrito Bowls
Eating lunch at fast-casual restaurants drains money quickly. Look at how much you save by cooking at home during a typical work month:
- The Takeout Route: A burrito bowl from popular fast-casual restaurants costs between $12.50 and $15.50 after taxes. Add a drink or side, and you easily spend $18.00 per lunch. That equals $90.00 every single week, or about $360.00 per month for one person.
- The Meal Prep Route: Buying ingredients at the grocery store lowers your costs significantly. A pound and a half of lean ground beef ($9.00), a bag of brown rice ($1.50), canned beans ($1.00), peppers and onions ($3.00), frozen corn ($1.50), Greek yogurt ($1.50), and spices ($1.00) cost about $18.50 total. That equals just $3.70 per serving.
You save more than $70 every week without reducing your portion size or skimping on flavor. That puts an extra $3,500 into your bank account each year.
Final Thoughts: Take Back Your Midday Meal
Lunch should give you real energy and a clear break from your workday tasks. You do not need to settle for bland deli sandwiches or expensive takeout bags.
Spend forty-five minutes in your kitchen this Sunday. Brown your meat, roast the peppers, mix a simple chipotle crema, and fill five glass containers for the week ahead. When lunch arrives, you will open the breakroom fridge to a meal you want to eat. Grab a skillet, start the burner, and build lunches that keep you full all week.